Update: It's Thanksgiving in the US, and Ars staffers are off experimenting in the kitchen rather than on the page. Actually, sometimes we experiment in the kitchen in order to put it on the page, too—like this 2013 series on home brewing some delightfully autumnal hard cider. While it's too late to get the job done for today's big meal, allow this guide to inspire you for your large winter gatherings. This piece originally ran on October 19, 2013, and it appears unchanged below.
My relationship with beer has grown too comfortable. We share an easy routine: I buy it at the store—a different kind almost every time—take it home, and drink it. I'm not sure how the beer feels about this, but it seems happy. Still, things have gotten boring. So I'm taking the next step: making my own hard cider.
I chose cider for my first foray into home brewing for a couple of reasons. First, much as I would like to make beer, it involves a more extended process and more specialized ingredients. Wine is closer to cider in simplicity, but I envision cheaply made homebrewed wine tasting much worse than cheaply made cider. Furthermore, autumn comes but once a year; I can buy a wine or beer kit any time, but there’s only a couple of months during which I can get good soft cider.Plenty of decent small-scale kits let you brew a small batch of beer/cider yourself. Here, I made a somewhat hacked-together solution—maybe a little more cumbersome than buying a kit, but it was cheaper. Most kits worth buying run $100-150 to make five gallons of whatever poison you choose. I want to have a go at this without potentially dumping five whole gallons of bad-tasting liquid, getting discouraged, and ultimately wasting my money on a kit I barely have room for and might not use again. With that in mind, I am starting small, with a gallon.
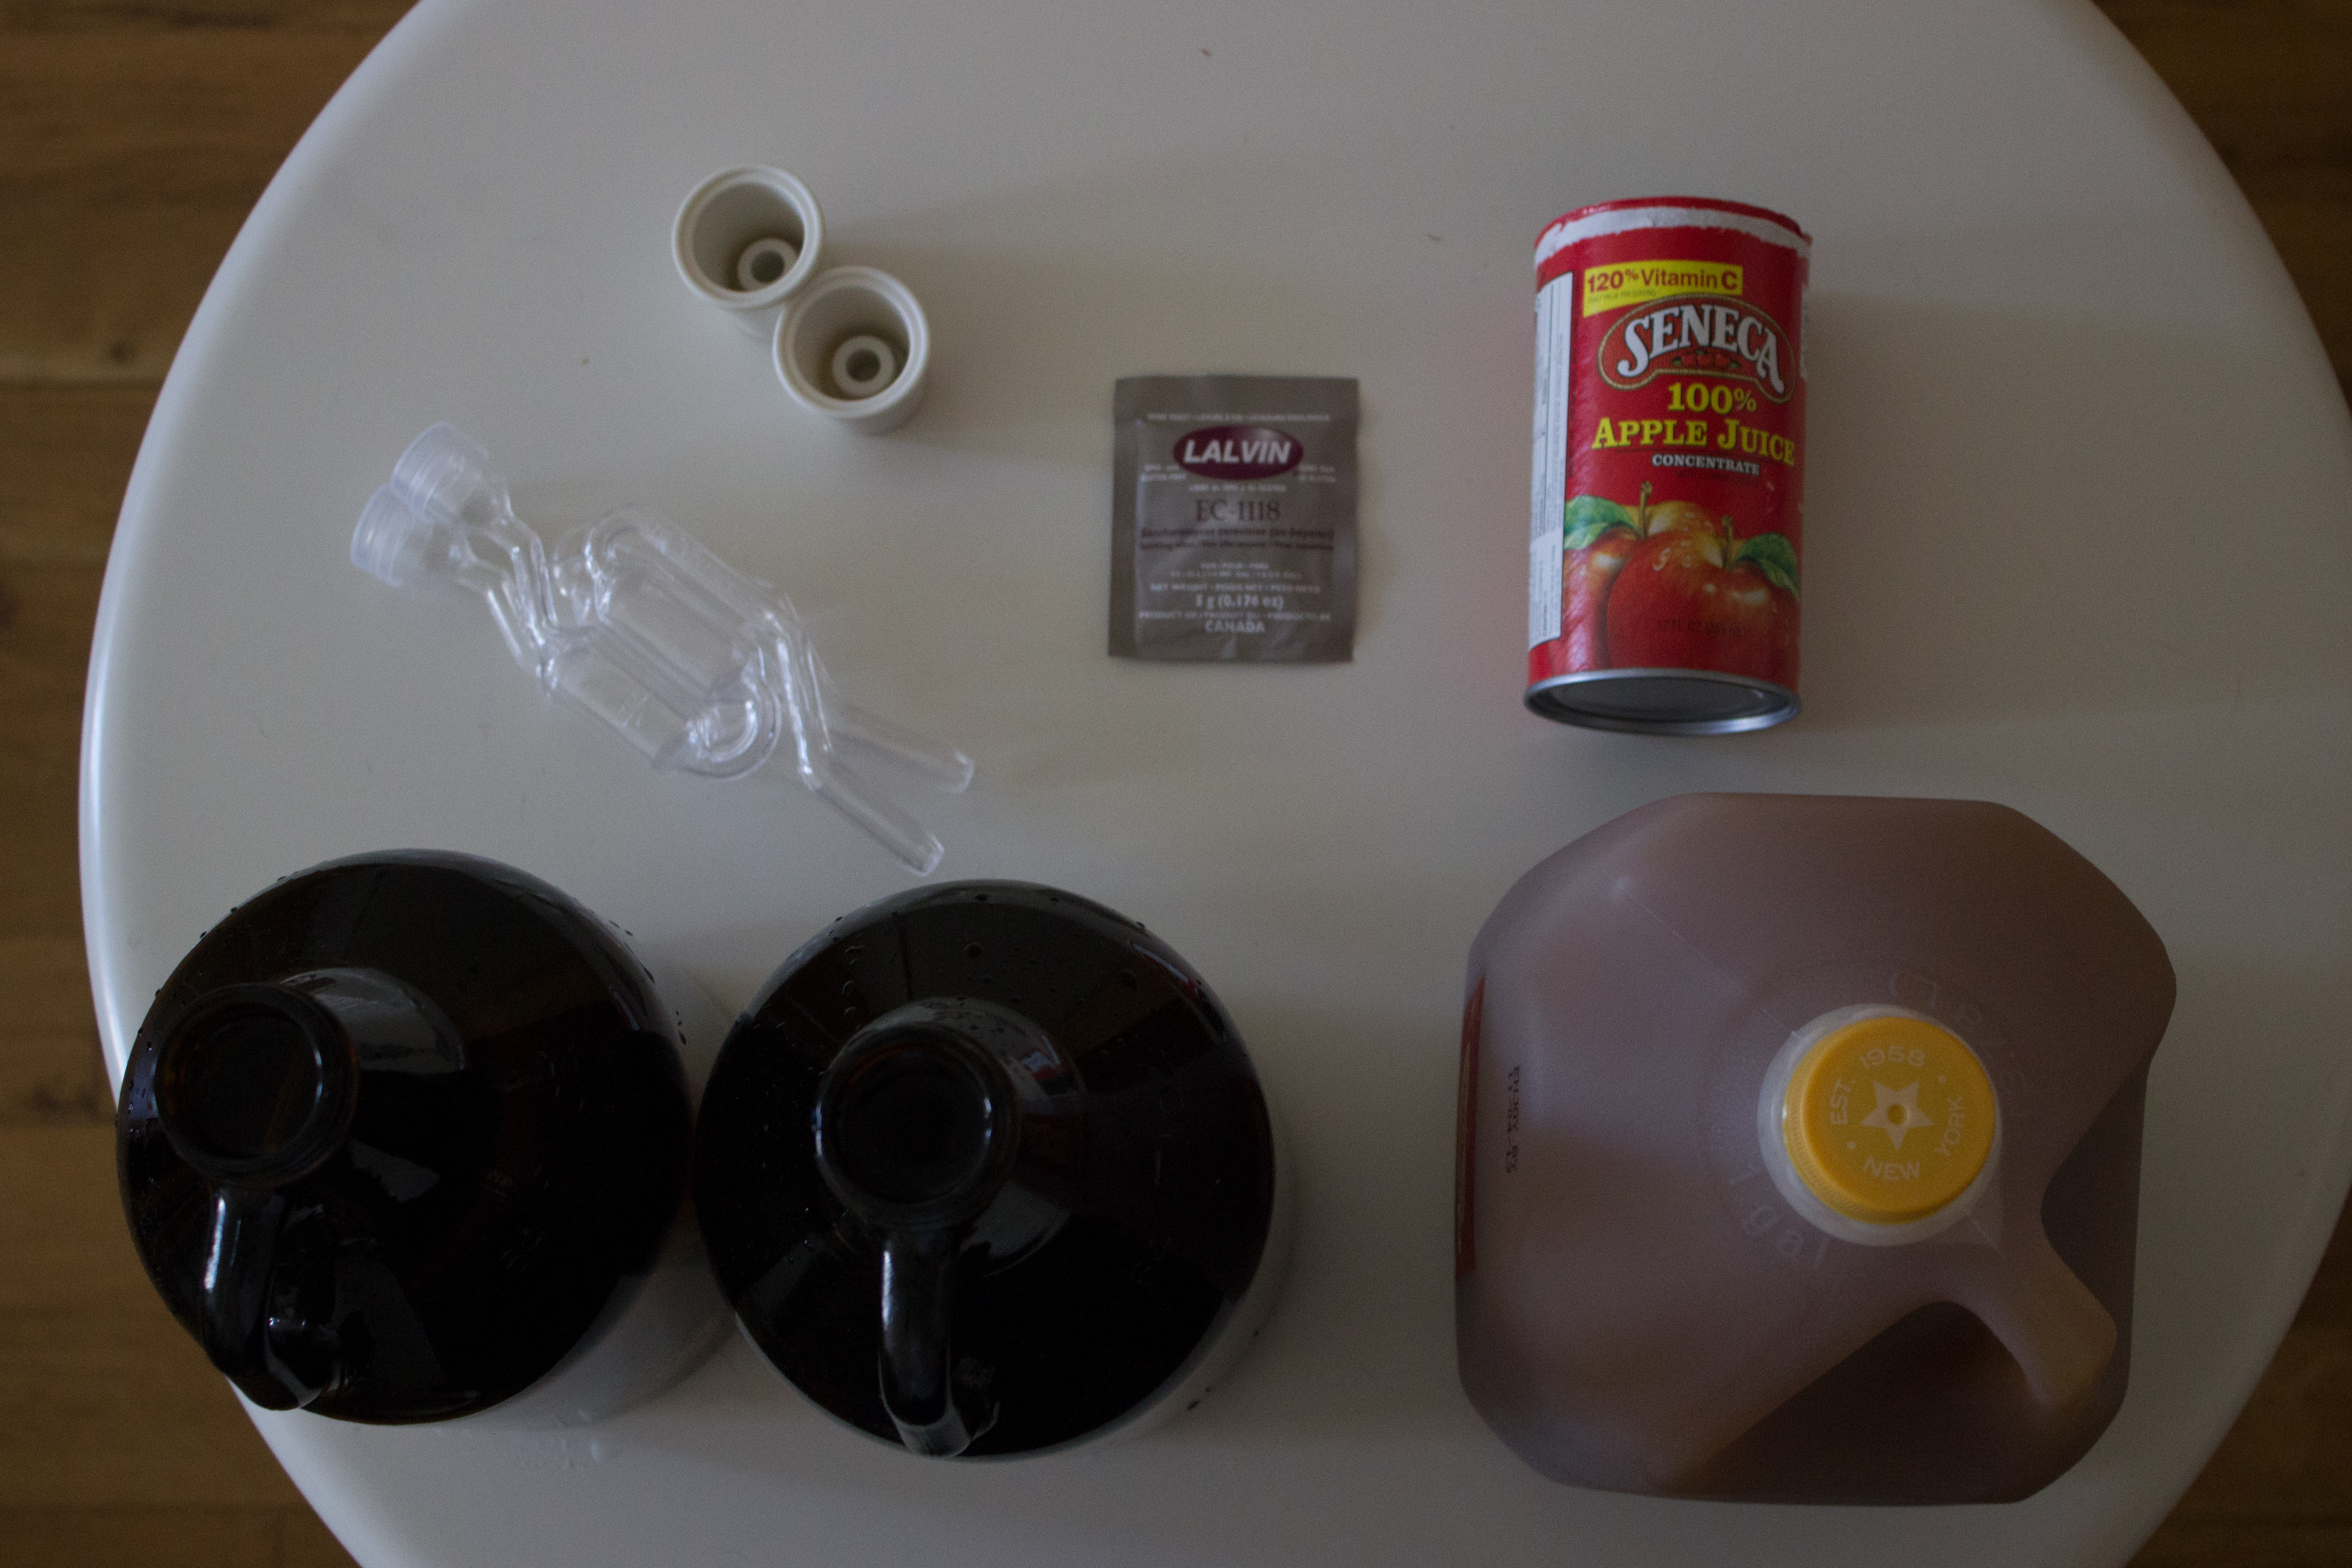
Our cast of characters
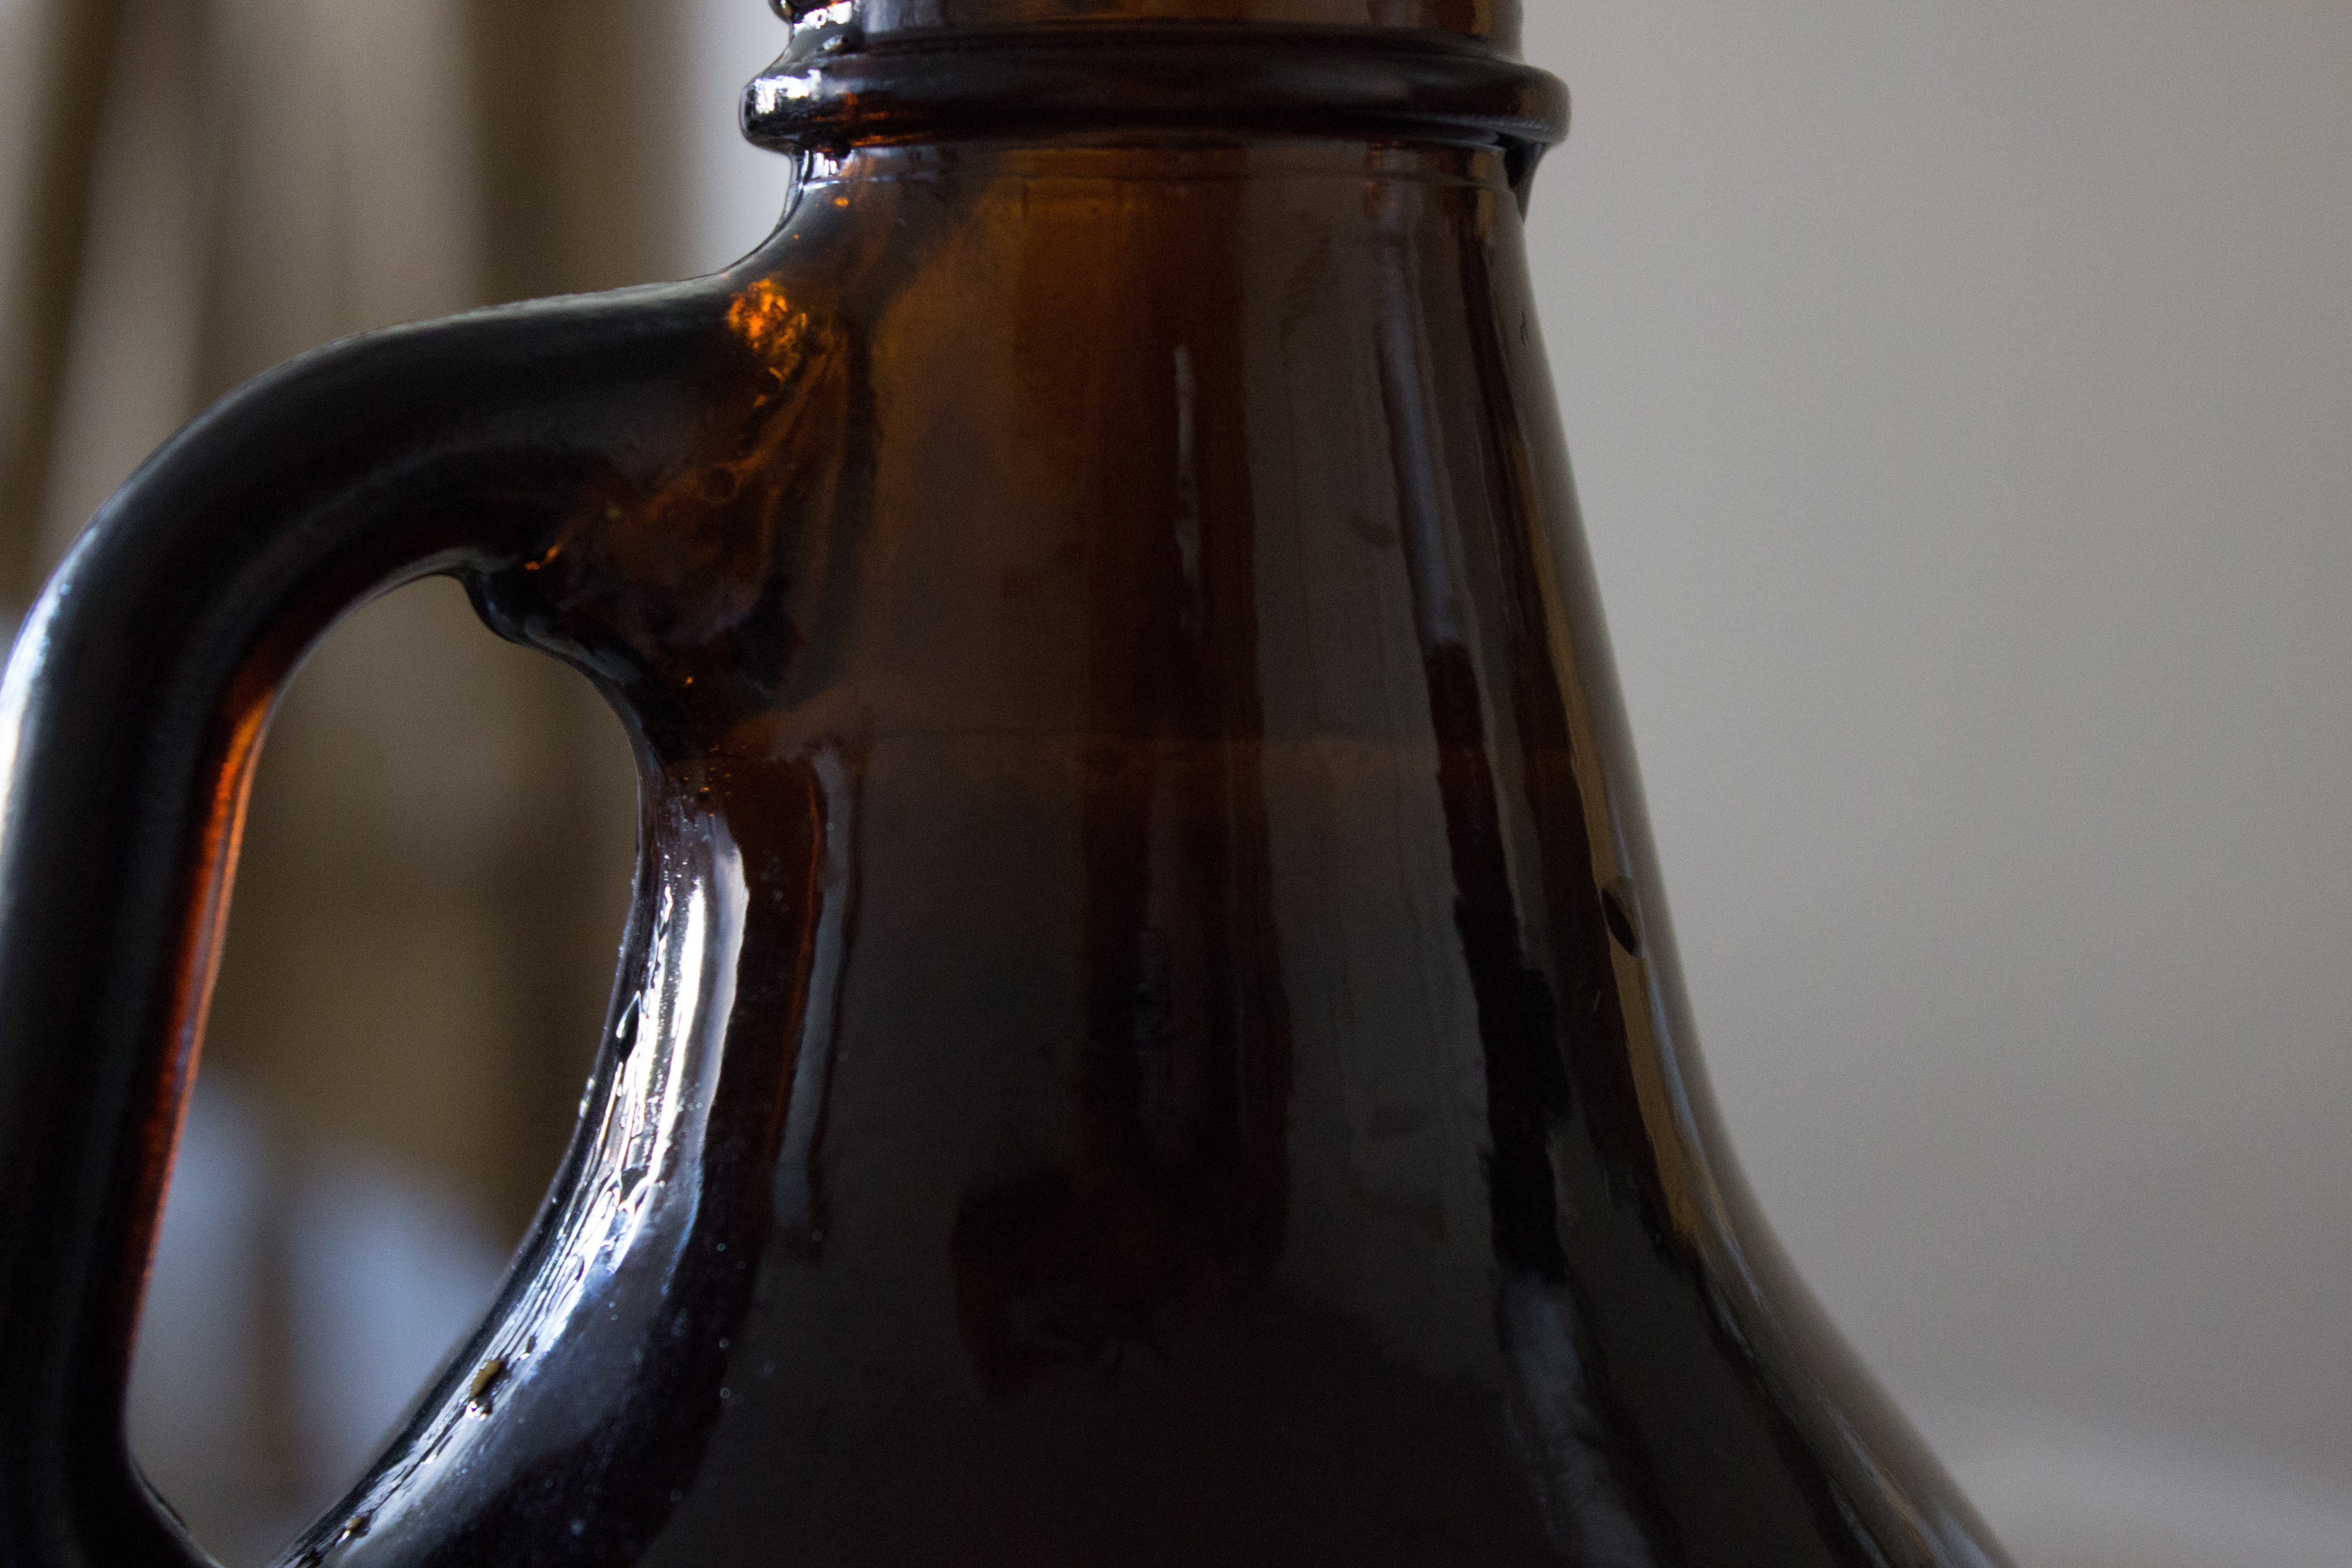
Two glass growlers, 2L size: $5 or free—To have two growlers at home, you only have to have decided on a whim at a bar that you really want to take a lot of one beer home twice, and the second time, you have to have forgotten your first growler at home. I actually have three growlers. They are starting to just appear here like stray cats, waiting to be fed with new and interesting beers. I am still too young to be the neighborhood growler lady. Having a third growler (or a second gallon glass jug) is not strictly necessary for this process but will vastly help with the amount of musical chairs you have to play with your cider later. I highly recommend you get one.
For growlers, you can substitute any glass jug of reasonable size, a fancy fermentation bucket, or anything in between. You can’t just use any old bucket because there is such a thing as food-grade plastic, so it’s safest to stick to glass unless you happen to have bought your materials from a homebrew store where people know what they’re talking about.
A gallon of soft cider, preferably from a quaint local farm: $6-8—Technically you can accomplish cider with preservative-free apple juice if that's your thing (or you can't find the real stuff). But that's no fun at all. You need cider that is preservative-free (no sodium benzoate or potassium sorbate as one of the ingredients). If you have the option of pasteurized or unpasteurized cider, either works, and I’ll discuss the benefits of each later.
A can of apple juice concentrate: $2—This doesn’t have to be concentrate, but concentrate is sugarier, which sugar-hungry yeast likes, and is virtually guaranteed to be preservative-free. Mott’s apple juice also has no preservatives. You’ll use this to make a starter.
Dry wine yeast, Lalvin EC-1118: $6-7 for 10 packets—This is a common, cheap, easy-to-find yeast that works for cider. That few dollars gets you enough to make 10 batches of a recipe this size, so the actual cost of what you use is less than a dollar. Champagne yeast is similarly cheap. There are liquid yeasts made specifically for cider, but they are about ten times more expensive.
A cup of sugar: Free—I’m guessing you have some around. Honey or brown sugar also works. If you don't have sugar, you can try to borrow it from a neighbor, but there's a 60 percent chance they will think you're up to no good.
Two airlocks: $1 each—These are little plastic pieces that let the gas generated from fermentation flow out and prevent new air from flowing in. There are a couple of different designs, but this one is simple and cheap. It is also possible to just cover the mouths of your fermentation jugs with a balloon and let the air of it when necessary, if you happen to have a lot of balloons lying around because you are more fun than I am. But a packet of balloons costs about as much as the reusable, real-equipment versions, which are airlocks and…
Stoppers/bungs: $1 each—These are stoppers with holes in the middle of them to stick your airlocks in. Different jug mouths need different sizes, but you just need to measure the mouth and then look at this chart to see what size you need.
You will need later:
A length of food-grade tubing, $4-10—this is unfortunately one of the most expensive items on this list, but the price varies; here is a length for $4 shipped on Amazon. This is not strictly necessary, either, but it will make removing sediment from the cider equation much easier later.
Optional:
Beer bottles, free—you can save these from your own personal retail beer journeys. For the purposes of this highly experimental project, I will suggest this as not the primary way to go about bottling. Since I'm using growlers, I can "bottle" the cider in those without having to invest in...
Bottle caps (100-144ct), $4-5—far more material than you need, though they take up less space than you might think.
A bottle capper, $13—this is a nice Ars Technica orange, but the process of bottling edges cider-making into an even more expensive/cumbersome endeavor.
You can also bottle your cider in saved-up plastic soda bottles, if presentation doesn't matter. I will show both growler-bottling and bottle-bottling processes in later steps, but know there are ways around bottling in conventional bottles if you don't want to bother with caps, cappers, and sterilizing all those tiny vessels.
Total equipment cost: $11-19
Total materials cost: $14-17 at the outset, $9-11 per batch
One gallon of cider works out to almost 11 bottles of cider. This isn’t the cheapest way to get drunk, but hopefully the final product will be at least comparable to what you can get off the shelf (everyone shake your fist at the inescapable Original Sin and Angry Orchard ciders) and, with the homesteading tendencies of our nation’s youth, you get to feel like you made something. (When it comes time to bottle, if the final product is not-so-tasty, I’ll try a couple of modifications to see if I can’t improve the flavor with stuff I've got on hand.)
On sanitizing
Sanitizing everything that is going to touch your cider or any ingredient of your cider is necessary. At best, your cider will taste bad, at worst, it will make you sick.* The easiest way to sanitize is to make a bleach solution of 1 tablespoon of bleach in a gallon of water and soak everything in there for at least 20 minutes, or put that solution inside anything that can’t be soaked (your fermentation vessels). Keep some boiled water to rinse these things as you take them out to use.
There are more sanitizing materials you can buy, but I’m specifically suggesting bleach because I have it on hand, and you probably do, too. Sanitizers like Star San and Iodophor are quicker but also small investments you may want to wait to pick up down the line if you decide homebrewing is fun.
* Evidence I’ve turned up suggests it will not actually make you sick, but if there’s even a small risk, no Arsians are falling ill on my watch. Sanitize your stuff.
The beginning
The first step is to make a starter, which will allow you see that your yeast is alive and well. This step isn’t strictly necessary, but you don’t want to go through even the small number of brewing steps necessary here only to see your yeast just lying there motionless.
I add a packet of dry wine yeast to the juice (in a sanitized container) and shake it around a little to integrate them, leaving the top cracked so gas can escape if the yeast does turn out to be viable. After about two hours, the juice is bubbling on the surface—when it comes to action, it’s not exactly Fred Astaire, but it is alive. The starter can go in the fridge until tomorrow.
The next day...
I take the starter out of the fridge and add a cup of sugar, shaking to integrate. The yeast, understandably, is loving this—adding sugar gives it more to feed on and will boost the alcohol content of the final product.
Now, if I were using cider that had not been pasteurized, this is the time when I’d cook it to kill off the natural yeasts hanging around inside it to bring this science experiment a little more under my control. Unpasteurized cider needs to be simmered—not boiled, or the pectins will start to set—for about 45 minutes prior to bottling. This also makes it slightly easier to dissolve your extra sugar.
Even if you do have unpasteurized cider, it’s not unheard of to start it without cooking—as a few guides I’ve read said, this “may or may not improve” the flavor. Hence, if you lack the equipment or time to cook a large vat of liquid for an hour, skipping the cook will, in the end, still produce alcohol. No one is promising flavor, only the entirely bearable lightness of being slightly or very inebriated, as suits you.
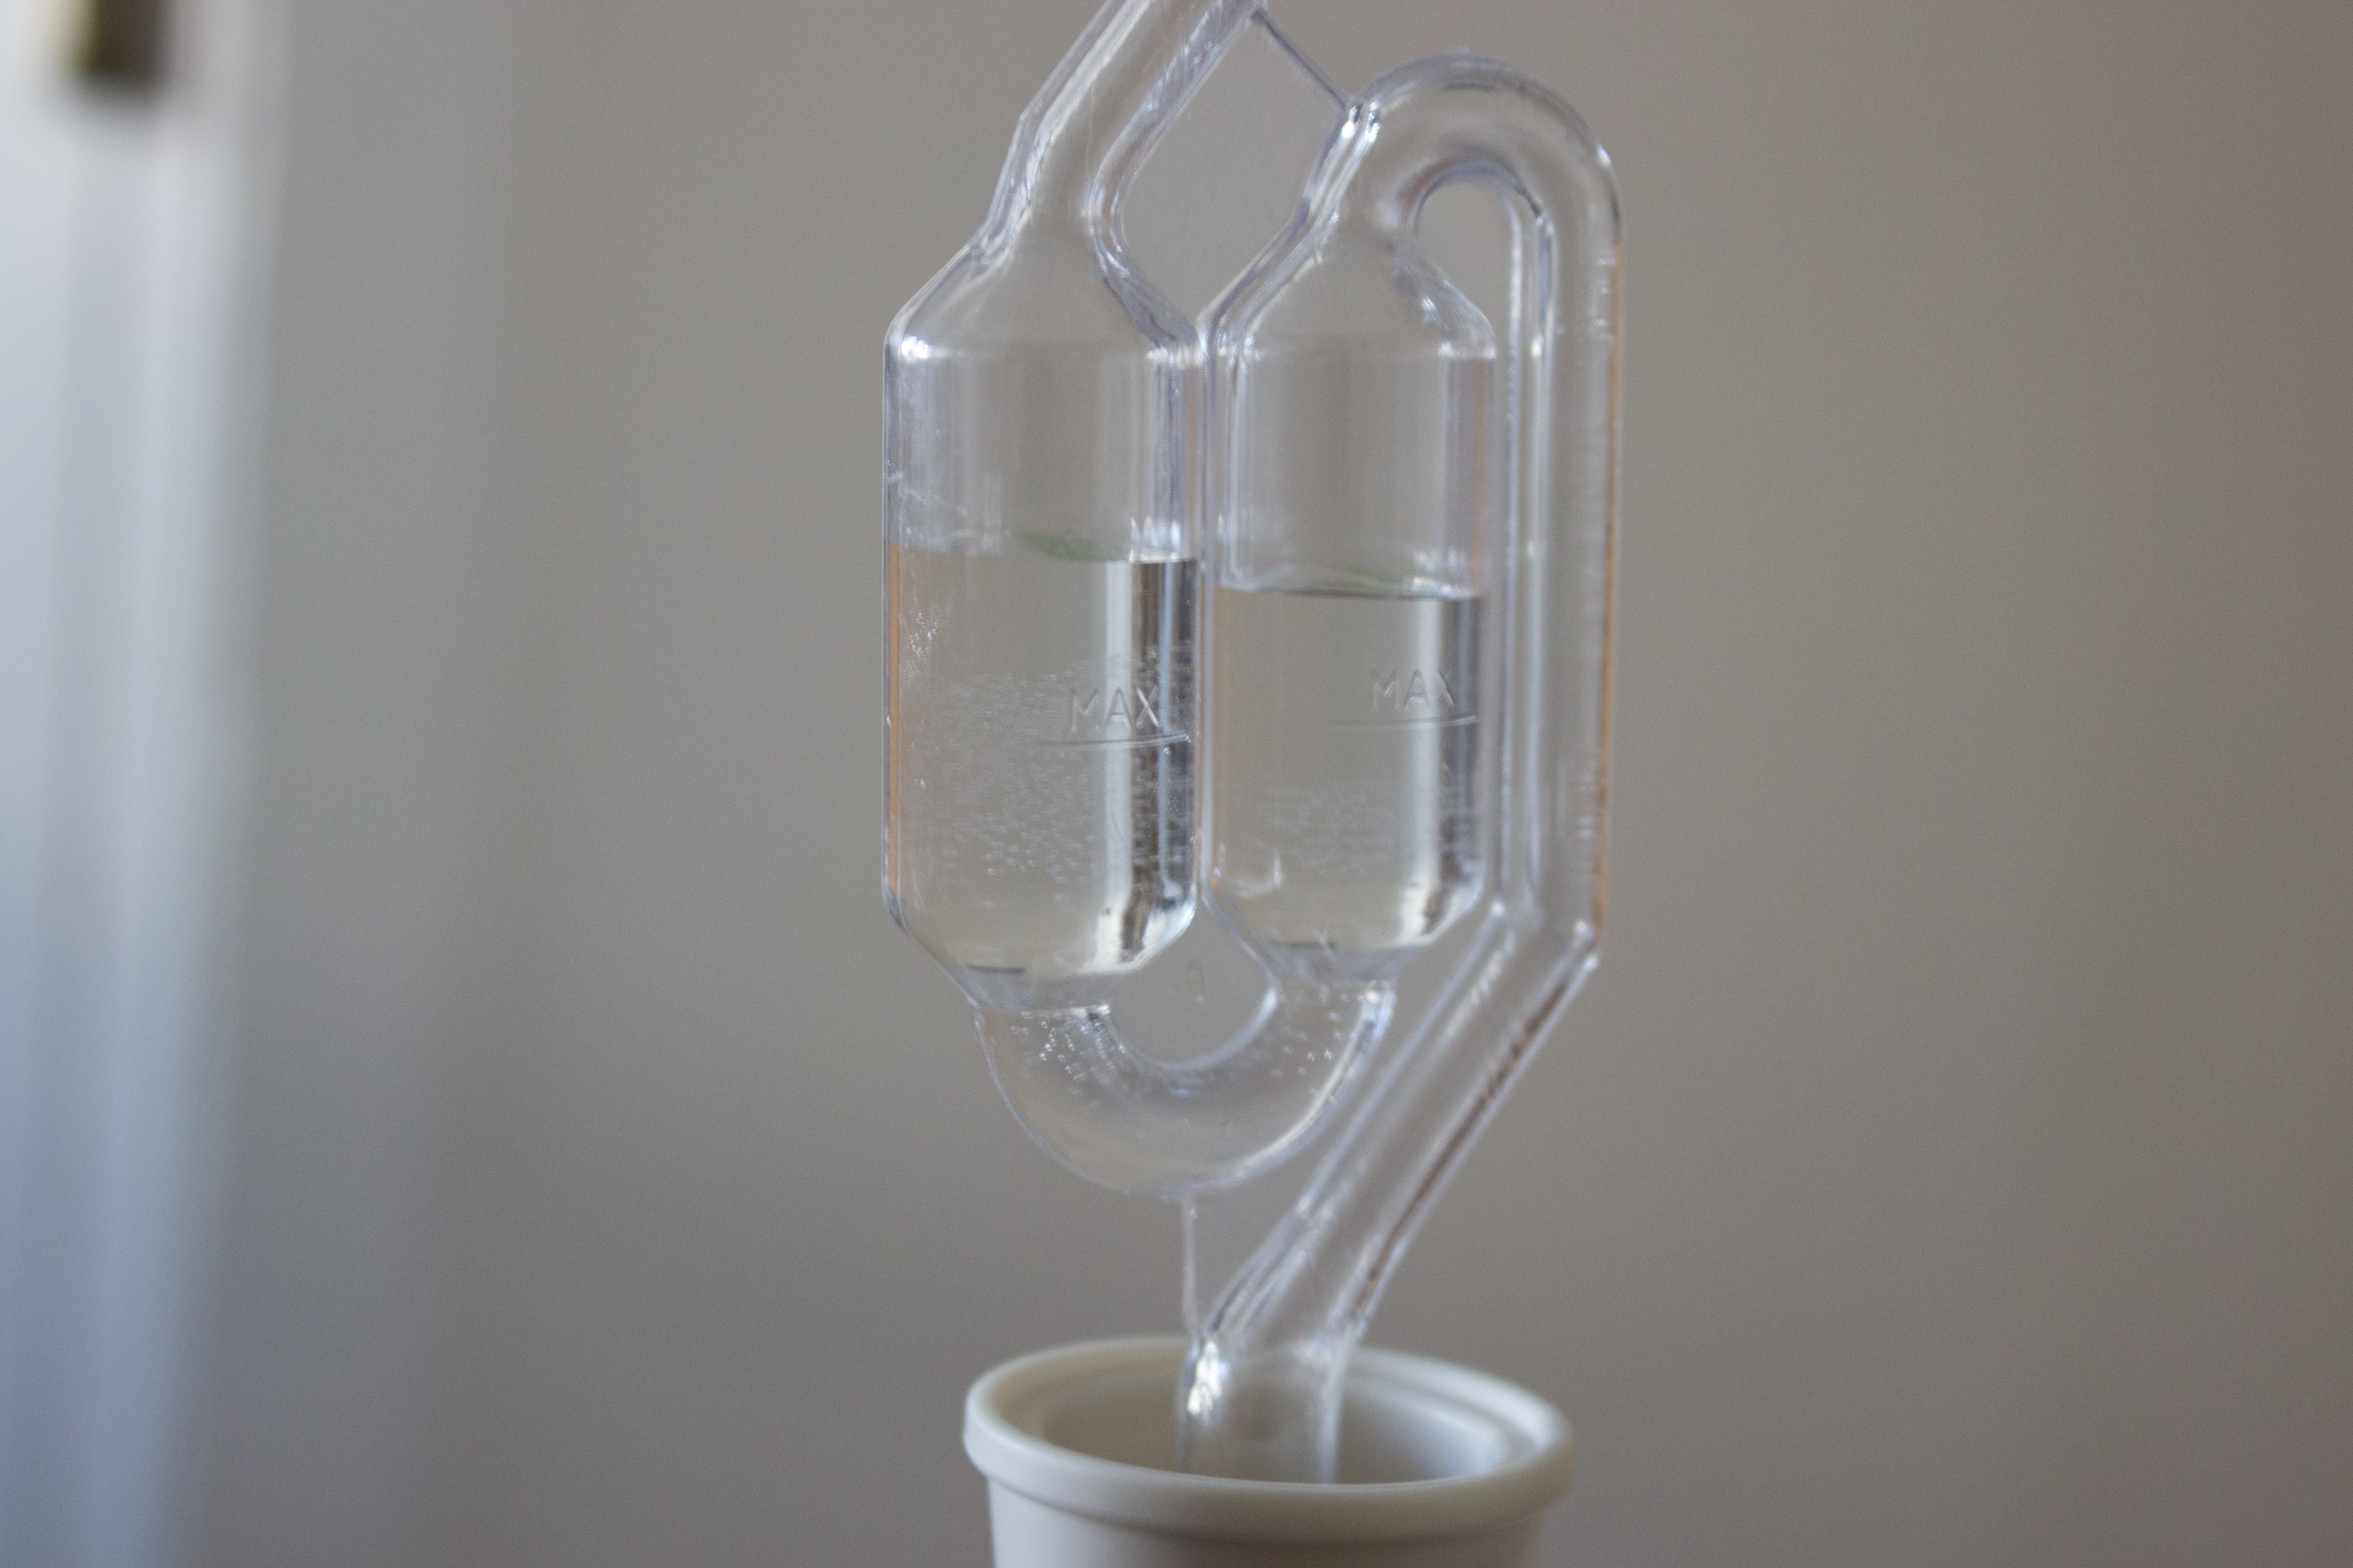
Now that my equipment is sanitized, I dump it out, rinse it (using boiled water), and split my starter between the two growlers I’m using. My pasteurized cider follows it in, filled to about where the neck starts. I stir the two jugs with a sanitized sharpening steel, because it is the longest and sturdiest thing I have lying around for stirring, but any decently long sanitized stick works (chopstick, cooking spoon handle, and so on) for integrating the rest of the sugar, the yeast, and the cider. I fill my airlocks about halfway with water, stick them in the bungs, stick the bungs in the growlers, and stick the growlers in a relatively cool place. Cider and yeast need an environment between 60-75ºF, or a coolish room temperature, to do their best work.
And my work is done for at least a week, maybe two. From here, I monitor and refill the water in the airlocks, if necessary, and wait patiently for booze to develop. In next week's installment, I'll cover maintaining and bottling the cider. The third and last installment will cover the final product triumphs and regrets. Follow along at home if you're so inclined.
reader comments
158