A Complete Guide to Camera Lens Filters
Back in the days of film photography, things weren’t quite as advanced as they are in our modern digital era. Photographers struggled to manipulate available light or had to work a lot harder to capture simple in-camera effects. That was the reason for the invention of photographic lens filters.
This article is a complete introductory guide to camera lens filters for beginning photographers. By the end, you should have a broad understanding of the kinds of lens filters used in the industry and the basics of what they do.
Table of Contents
Forms of Lens Filters
Before diving into each filter type, it is proper to first analyze the available form types of filters.
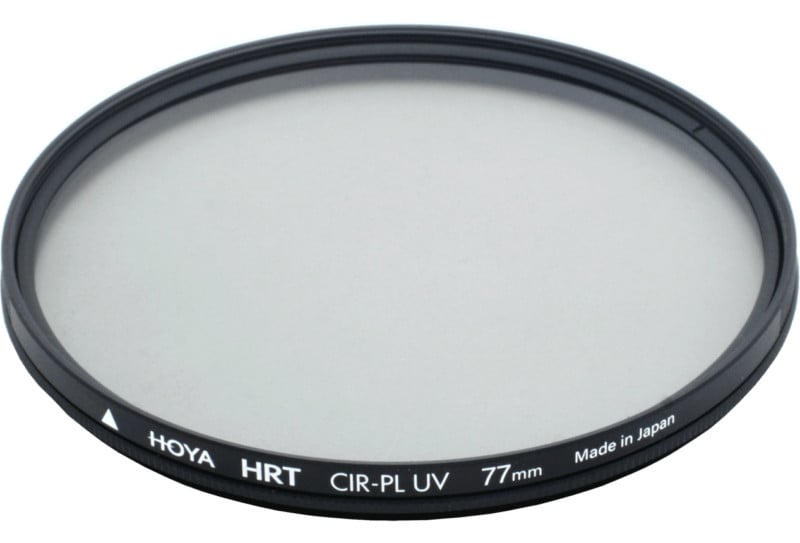
Screw-On Filters
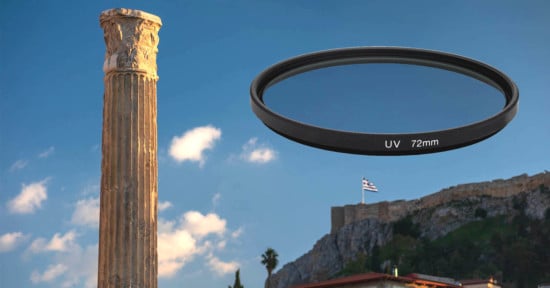
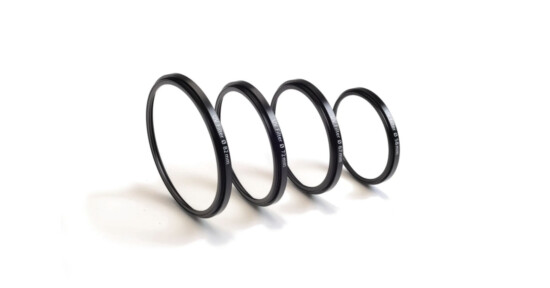
The most common and popular form for almost all filter types. These filters are available in many diameters so that photographers can find one that fits any particular lens. They simply screw onto the filter threads found on the front of a camera lens, hence the name. Almost all filter types are available in this form.
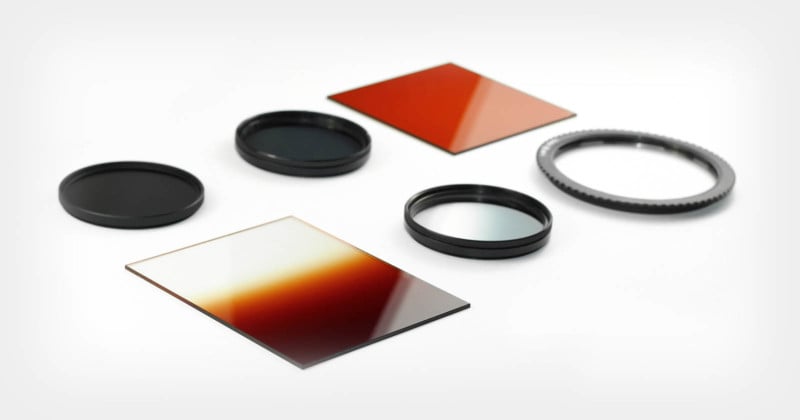
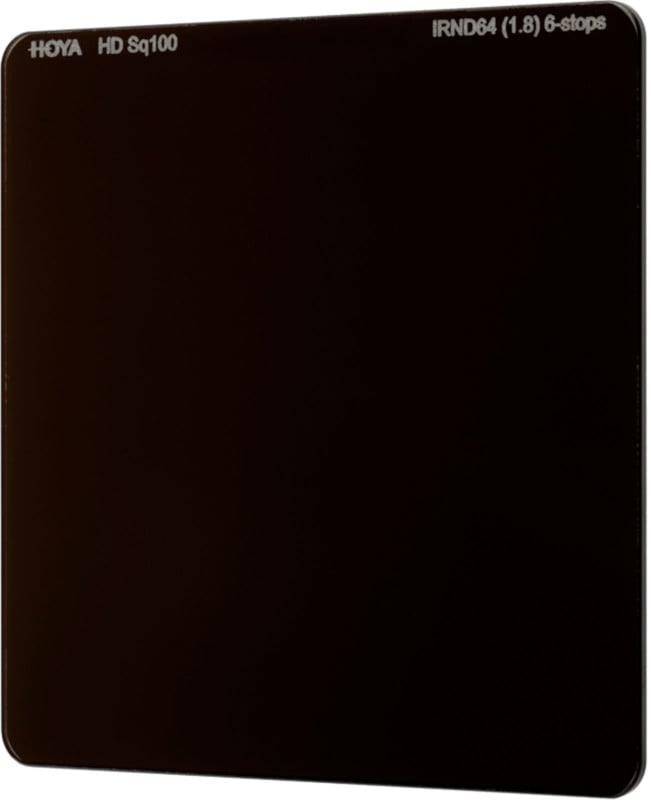
Square Filters
The second most common form of filter is the square one. These filters have a square form, usually in a size of 100x100mm or 130x130mm and they require a holder to be used on a lens.
The holder attaches to the front part of the lens via an adapter ring which comes in all sizes.
As with screw-on filters, most filter types are available in square form as well.
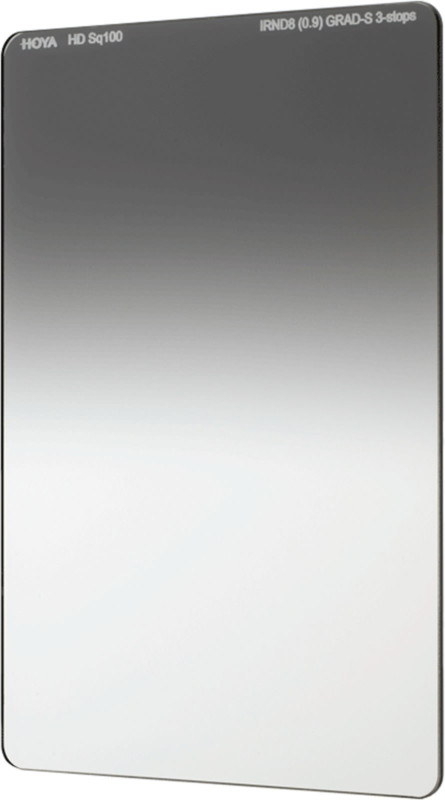
Rectangular Filters
These filters are very popular with landscape photographers as graduated neutral-density filters are most commonly available in rectangular form, aiding the photographer in properly balancing the horizon when framing a scene.
Their most popular size is 100x150mm, although there are some bigger sizes available (e.g. 130x170mm) that are better suited for ultra-wide angle full-frame lenses.
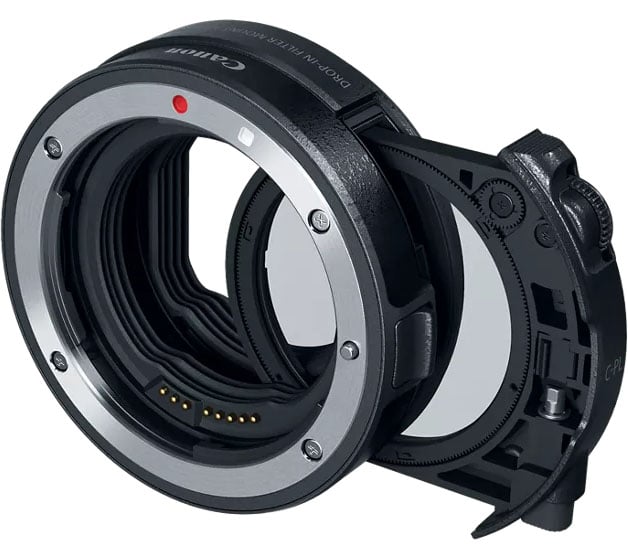
Drop-In Filters
Due to their design and size and to avoid any possible aberrations on the produced image, the very big telephoto lenses don’t take regular screw-on filters. Most telephoto lenses have a very big lens hood in the front to avoid flaring, although some of them might have a filter thread in front as well with a thread diameter such as 95mm or 112mm. Lens designers usually prefer to have a dedicated slot near the back part of the lens that takes small drop-in filters as it is easier to input and/or change filters this way.
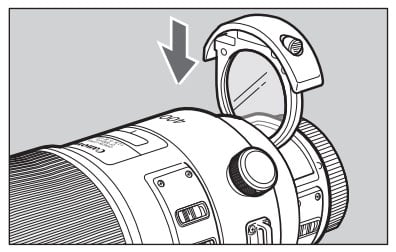
Not all filter types are available in this form, although the most common filters like ND and CPL are available.
There are also lens adapters on the market, such as the Canon Drop-In Filter Mount Adapter EF-EOS R, that allow photographers to use drop-in filters between their lenses and cameras.
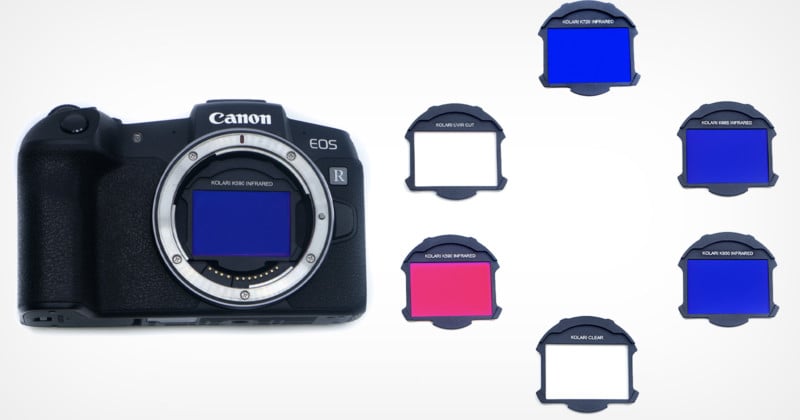
Sensor Clip-In Filters
Lastly, this form, which is relatively new compared to the other form types, allows a filter to be attached right in front of the camera sensor, providing the benefit of greater control over some optical aberrations like flaring. However, only some dedicated and special filters are available in this form, usually filters about infrared or astrophotography, although lately there were some ND filters available as well.
A Small Note
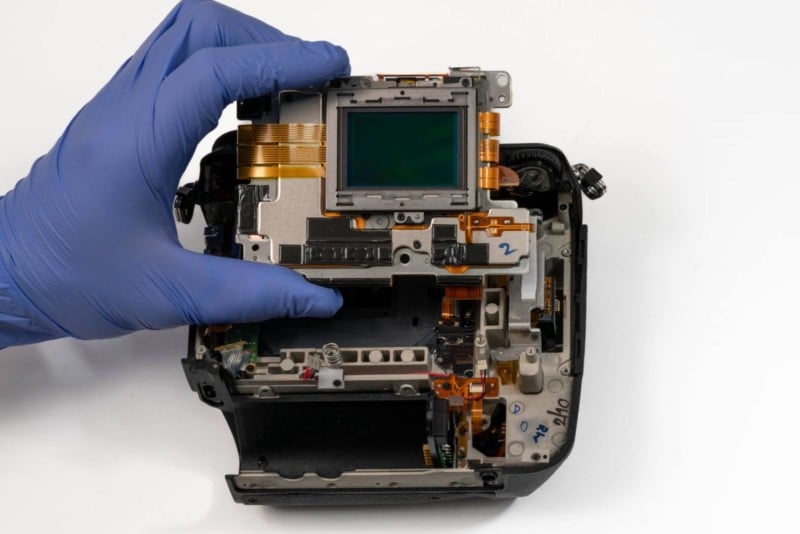
As we are living in the digital era of cameras, it is proper to note at this point that all cameras have two filters incorporated into their sensors in the form of two very thin layers.
These filters are ultraviolet (UV) and infrared (IR) filters, and usually the UV is in the outer layer while IR is beneath it. Their purpose is to block both ultraviolet and infrared light from reaching the sensor.
If these filters were not in front of the sensor, then the camera would be unable to acquire proper autofocus, the captured images might have aberrations and artifacts and would have strange colors.
However, the removal of these two internal filters is a very common procedure in our days, as photographers that are working on a specific genre, usually astrophotography or fine art black and white photography, want their camera sensor to be able to capture all the available light without blocking specific parts of the wavelength.
Types of Lens Filters
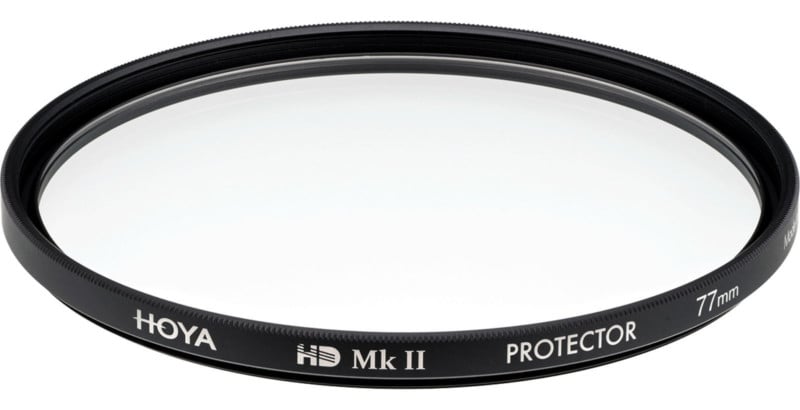
Protection Filters
A protection filter is basically a clear glass filter, and its purpose is to simply protect the front element of the lens from accidental and unwanted hits and scratches.
These filters don’t produce any effect and they usually do not affect the image quality, but that mainly depends on the quality of the glass.
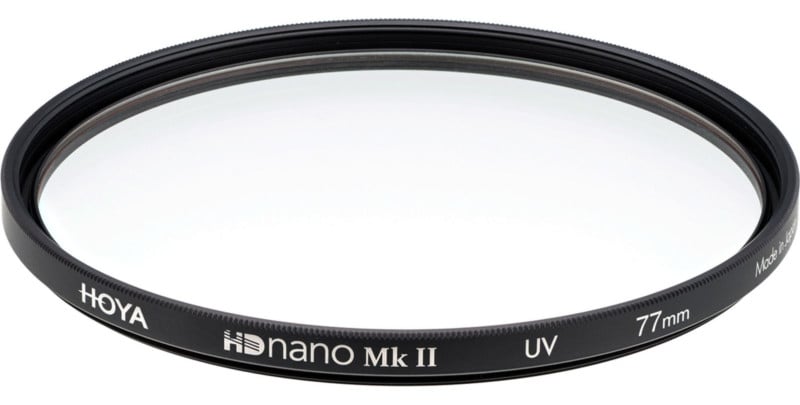
UV Filters
Ultraviolet filters, or UV filters, are often erroneously considered to be identical to protection-type filters, and with a good reason as both are clear glass filters to the naked eye. However, UV filters have a thin coating inside the glass that blocks UV light, although this effect is not visible on most occasions. These filters can also be used to protect the front element of the lens.

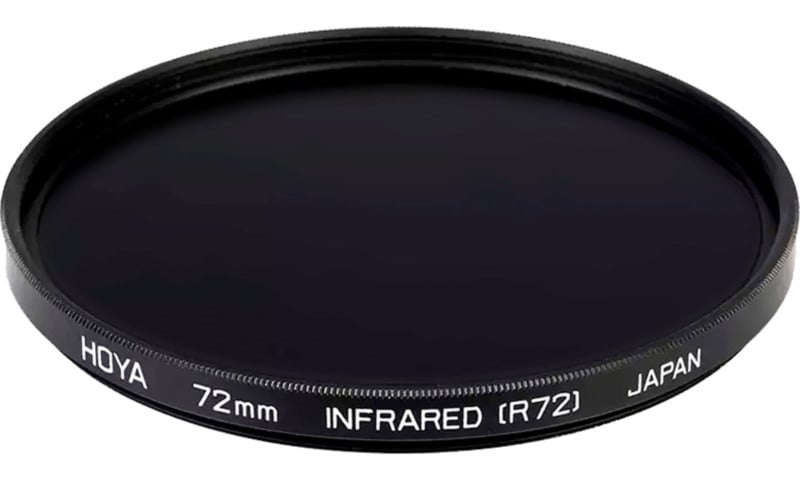
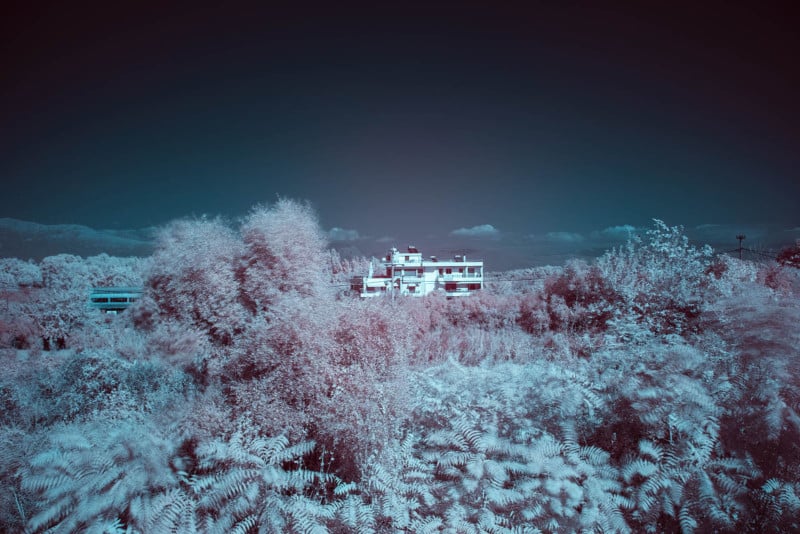
Infrared Filters
The wavelengths of the visible light spectrum (what we can see with our naked eyes), range from 380nm to around 740nm, and what comes directly before is ultraviolet light and directly after is infrared light, which is both not visible to our eyes.
This infrared (IR) filter is used when the photographer wants to allow only light from the infrared spectrum to reach the sensor, producing very unique and creative results.
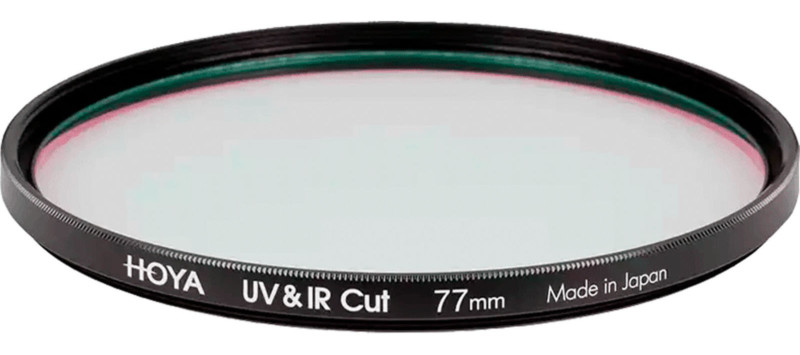
UV and IR Cut Filters
Ultraviolet and infrared cut filters, or UV & IR Cut filters, are very special and dedicated, and they can only be used when the photographer has removed the internal UV and IR layer filters from the camera sensor (check the corresponding note in the previous section). These filters are attached to the front of the lens and by using them, the camera “returns” to its factory state, so all camera functions like autofocus are working again properly. Practically these filters allow a modified camera to shoot and capture normal shots during the daytime.
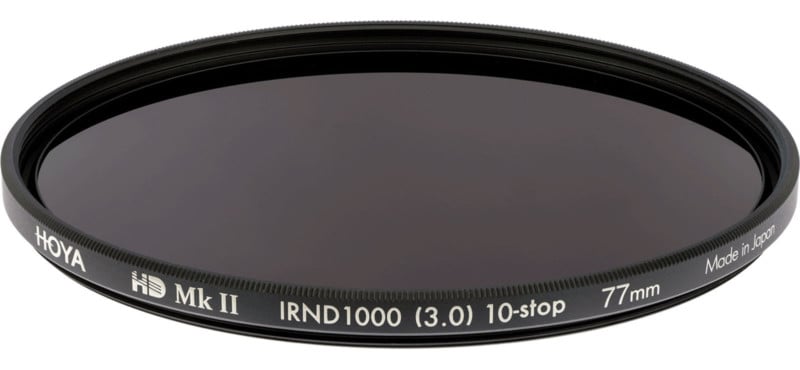
Neutral-Density Filters
The neutral-density filter, or ND filter, is a powerful tool photographers use to reduce the amount of light entering a camera lens in order to select exposure combinations that would otherwise result in overexposed images.
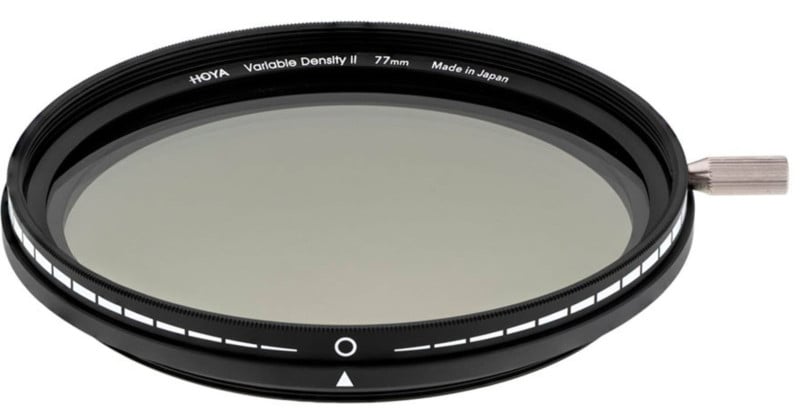
Variable Neutral-Density Filters
Variable ND filters are very similar to ND filters, as they also reduce the amount of light entering the camera. However, their biggest difference is that they are variable, meaning that a variable ND filter can reduce a range of stops — 1.5 to 9 stops of light, for example — and not just a specific number (i.e. 6-stops).
These filters are very helpful to videographers as they can simply rotate the front ring that controls the strength to dynamically account for different light intensities in a changing scene. For example, one could be used to shoot a continuous shot at a wedding in which the couple walks from an outside location into a church.
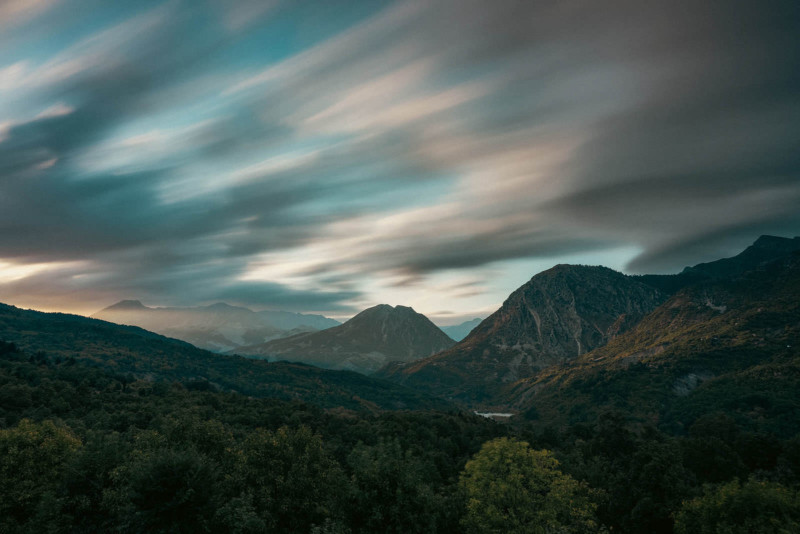
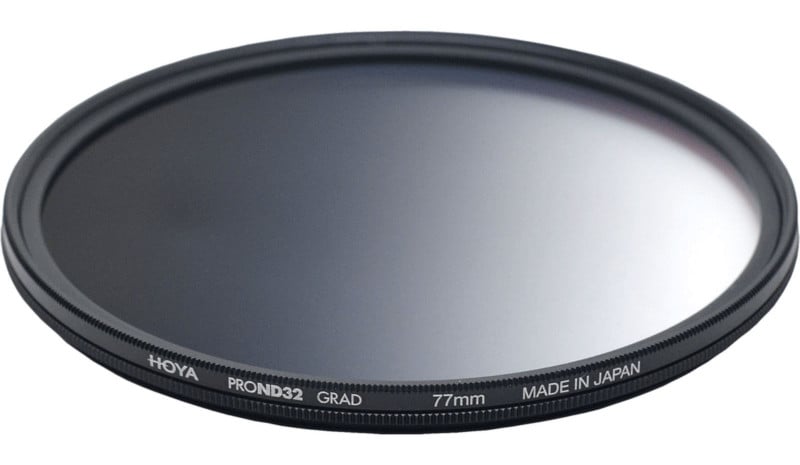
Graduated Neutral-Density Filters
Graduated neutral-density filters, or GND filters, are essential filters for landscape and outdoor photography, as they allow the photographer to balance the luminosity of a scene between a bright sky and the darker ground, for example when shooting a sunrise or a sunset.
They usually come in rectangular form so that it is easier to place the horizon at the proper spot, but in recent times they have become more available in regular screw-on forms.
They consist of two parts in the glass, the upper side is darker and acts like a regular ND filter while the bottom part is clear glass with no effect on the image.
The concept is to put the sky, which is usually much brighter than the scene below, in the top part of the filter and reduce the incoming light and let the ambient light of the ground be captured through the clear glass.
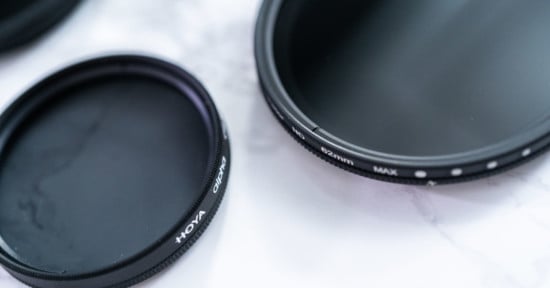
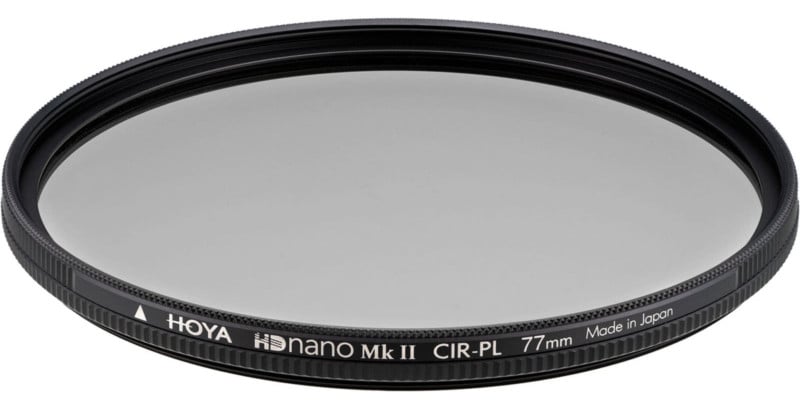
Circular Polarizer Filters
A circular polarizer filter, or CPL filter, is a popular and powerful filter that can reduce or eliminate glare and reflections from surfaces in your photographs, as also enhance contrast and the blue color tones of the sky.

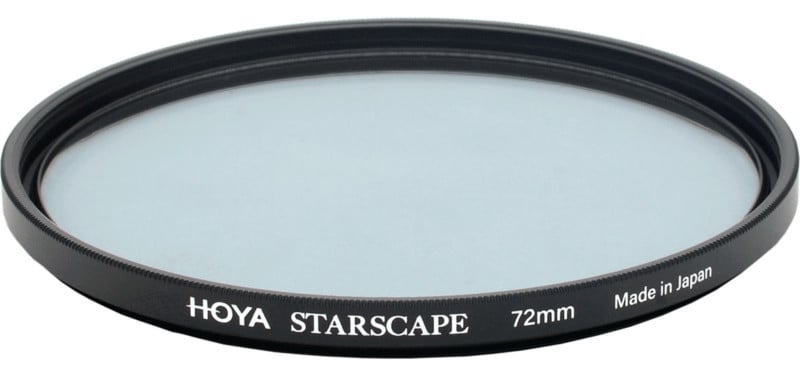
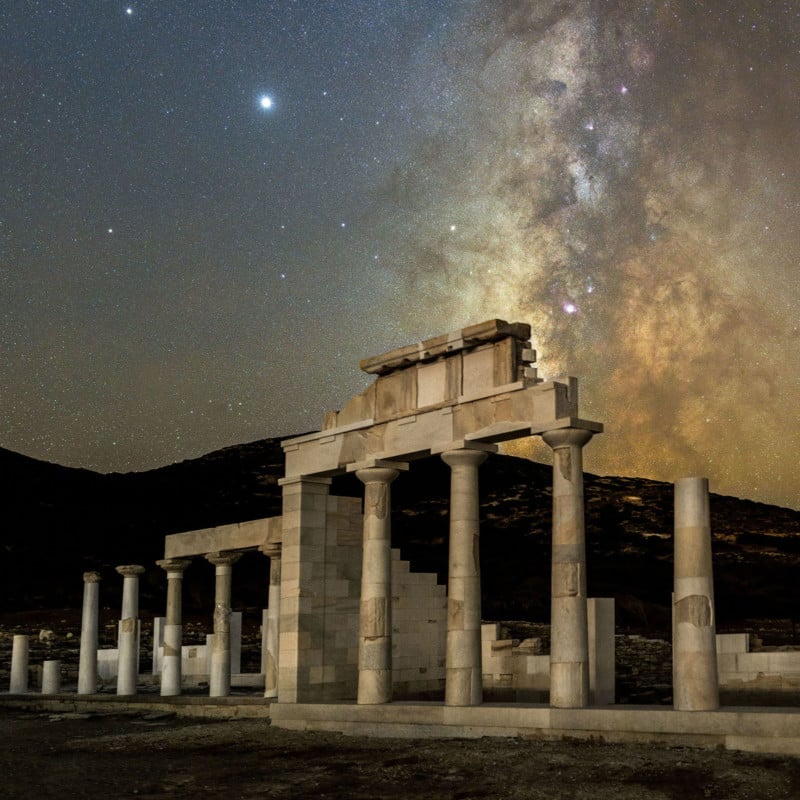
Light Pollution Filters
A light pollution filter is a filter that blocks a specific part of the wavelength, and more specifically it cuts out the yellow and orange parts of the spectrum between 575nm and 600nm, while not altering the other colors/wavelengths.
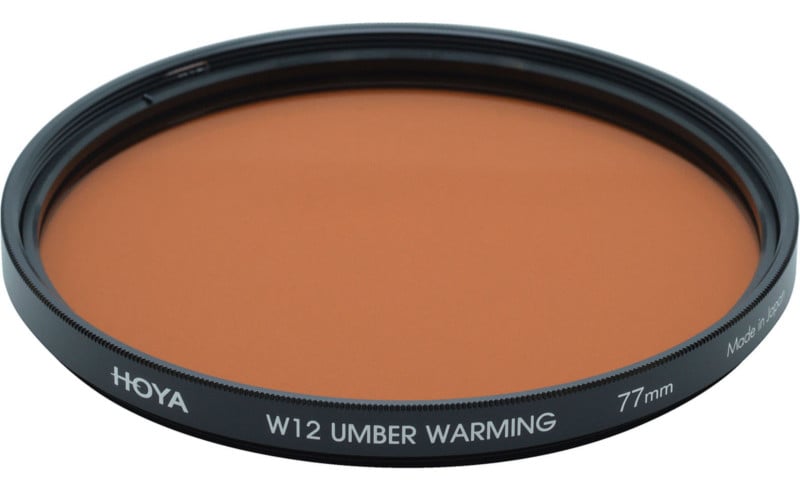
Colored/Cooling/Warming Filters
Sometimes the photographer might want to add some mood to the captured image by enhancing certain colors or just changing the color balance of the scene. To achieve this, a colored filter must be used. In the past, there were more filters of this type available, but in our days it is usually preferable to change the colors during post-processing, so only some basic cooling and warming filters are still available.

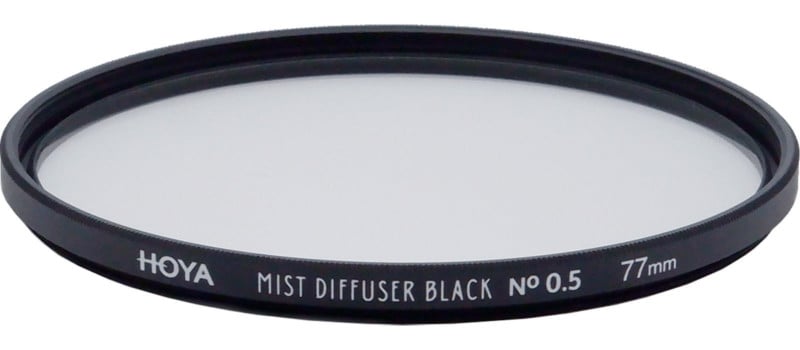
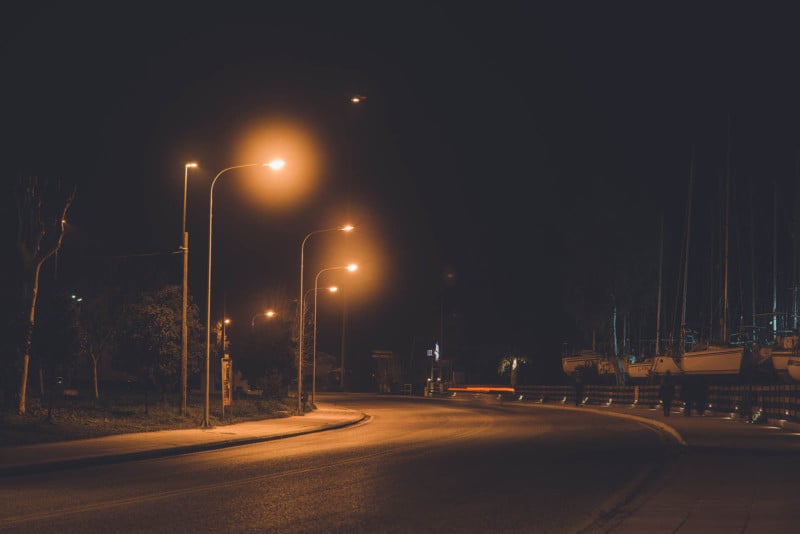
Diffusion Filters
As technology in the photography industry keeps advancing, and the cameras and lenses are producing even more detail both in stills and video, sometimes the photographer might want to decrease the overall sharpness of the image, to make it look more like it was shot on film and create some filmic mood.
The diffusion filters are available in different strengths (how strong the diffusion effect would be) and can be used in both stills and video, producing very unique results. In addition to the lower sharpness of the captured image, the most common effect of these filters is the increased halo around lights.
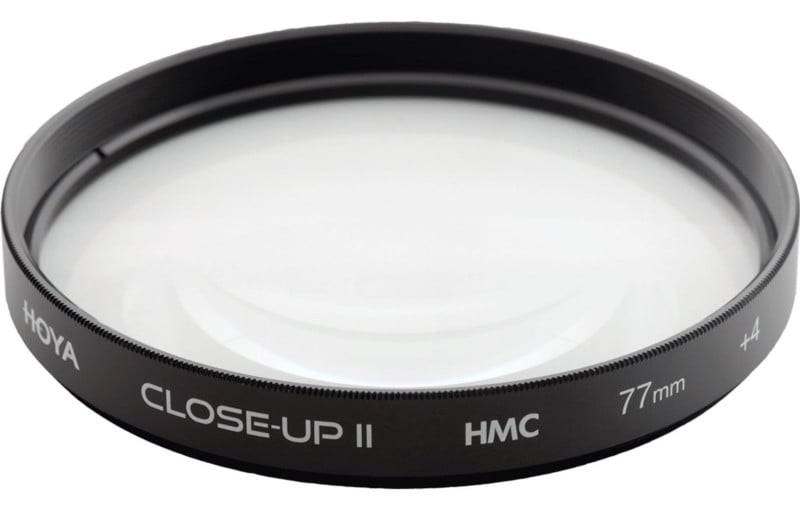
Close-Up Filters
These very helpful filters are coming in different strengths, and their effect is that they decrease the minimum focusing distance of a lens. For example, if a lens with a minimum focusing distance of 50cm is paired with a close-up filter of a +4 strength, then the lens can focus closer — instead of 50cm, the minimum focusing distance will become 25cm.
Although these filters cannot replace the quality of a macro lens, they can still produce some excellent results.

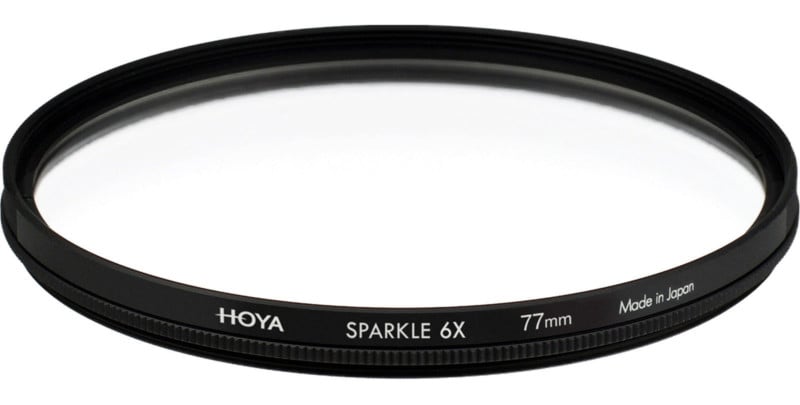
Star Filters
Sunstar effect can be achieved with almost any lens if the selected aperture is very small — f/16 or f/22, for example — but there are occasions in which either the lens is not performing ideally in this category, or the photographer wants to use a wider aperture (f/2, f/4, etc). Star filters produce stars around point light sources with any aperture, and they usually come in two forms: a) with a produced 4-peak star and b) with a produced 6-peak star.

Hopefully this broad overview of camera lens filter forms and types has helped you gain a solid introductory understanding of the wonderful world of lens filters in photography!
Image credits: Header photo licensed from Depositphotos. All sample shots by Christophe Anagnostopoulos.