If you have dabbled a little with Photoshop, you will know just how powerful an editing tool it is. One of the many elements that contribute to this are layers. Photoshop layers allow the photographer to stack images, graphics and other elements on top of each other.
Perhaps the simplest form a layer can take is when we put text over an image. For example of we place white text on top of an image, Photoshop will automatically create a new layer. The original image will still be seen below the text.
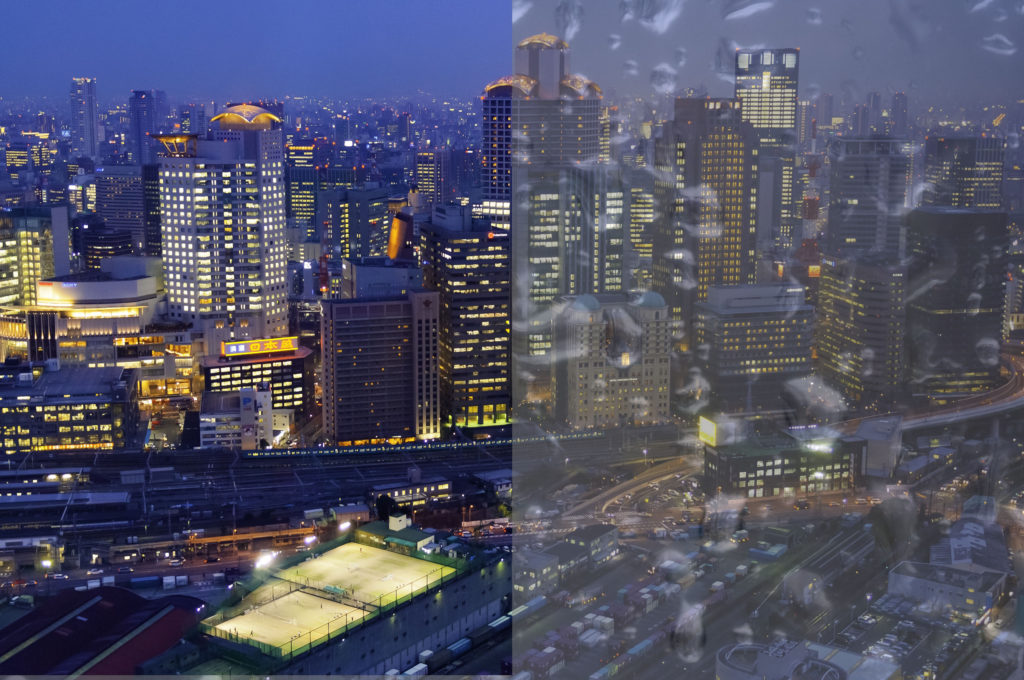
If however, we place another image over the top of our original image, the original will disappear. We could of course reveal the lower image by reducing the opacity of the upper image. However this will only give us a mishmash looking combination of the two. There is however a much more advance way or merging multiple layers together and that is the Blend Mode. Today we are going to take a look at it.
What And Where Is The Blend Mode Tool?
A blend mode will merge the pixels of one layer with those of another in Photoshop. It does this pixel by pixel based on luminance, colour or saturation. You change the blend mode on the upper layer to merge it with the layer below. Blends, in most cases only work on the layer directly below.
They will have no effect on layers further below the two being adjusted.
The blend mode is found in the Layers Palette. Click on a layer and you will see a dropdown box with a full list of blend modes available. As of June 2020 there are 27 separate types of blend, grouped into six distinct categories. Those categories are:
- Normal
- Darken
- Lighten
- Contrast
- Inversion
- Component
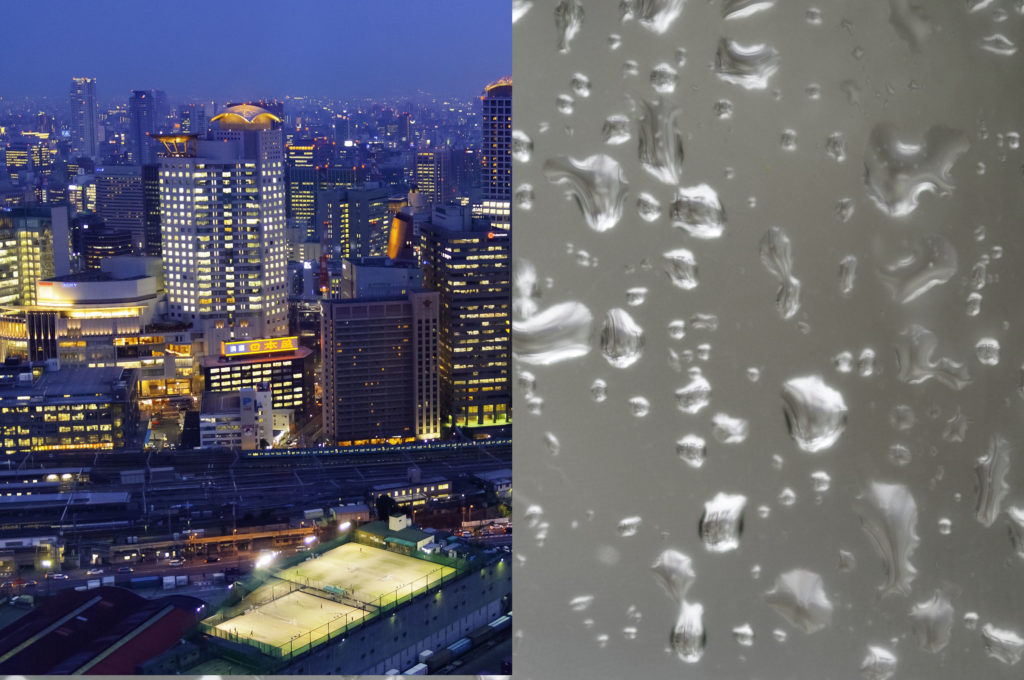
The default mode is Normal, when you use this, you will not see anything under the upper layer, unless you reduce opacity or fill. The other option in the Normal section is dissolve. This will merge the upper layer with the lower layer with a dither pattern. Again this will only show when you start to reduce opacity or fill. Lets look at what the other blend mode categories do.
Darken Modes
There are six separate modes within the darken category. These blends will make the overall image darker based on the density of the upper image. In the Darken Blend the pixels in the upper or blend layer are darker than those in the lower or base layer, they are kept. If they are are lighter they are replaced with the pixels from the base image.
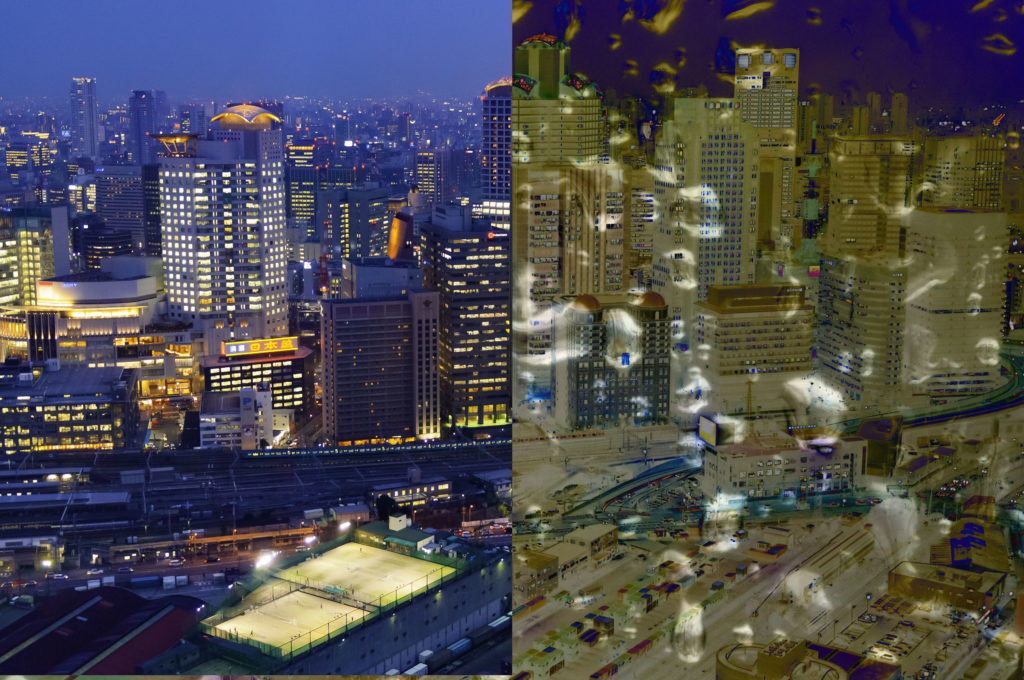
Multiply will darken all coloured pixels but not white. Visually it it is like doubling the density of an image.
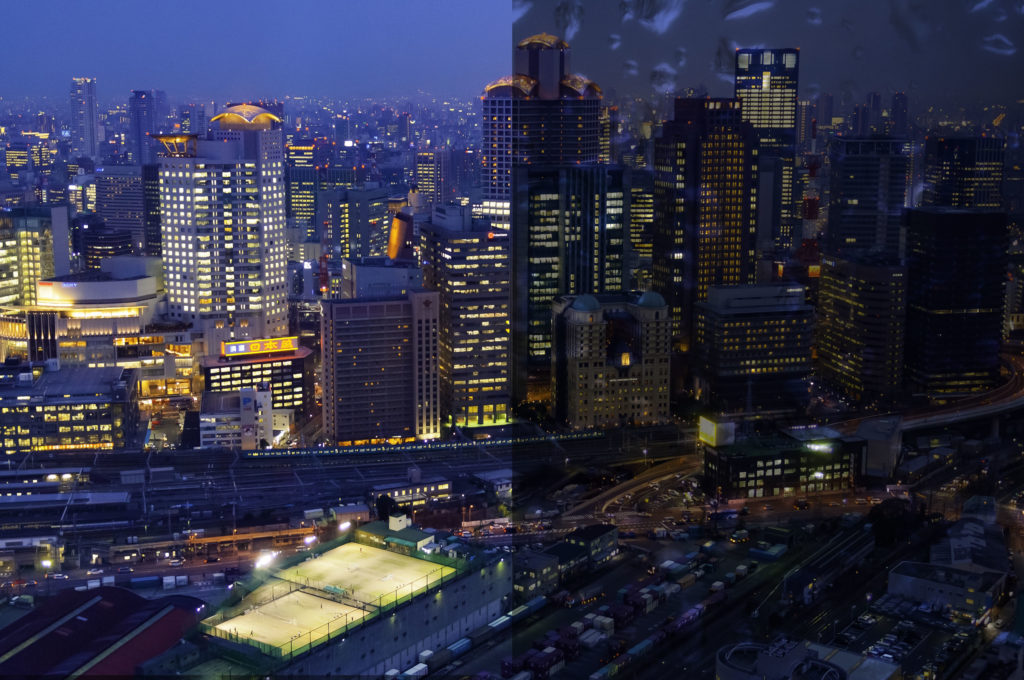
Color Burn will darken the most saturated mid-tone regions but not touch the highlights. It creates a dark deeply saturated look.
Linear Burn does a similar thing but with less effect on the saturation of the image. Darken Color works in a similar way to Darken but with less effect on the colour.
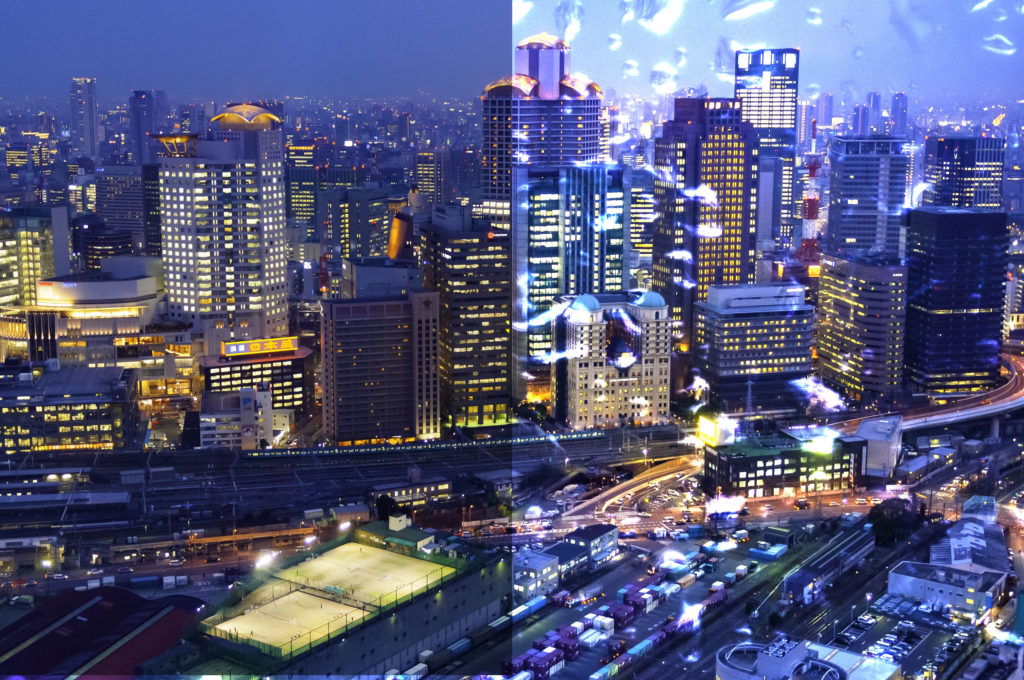
Lighten Modes
The Lighten blend modes are effectively the direct opposite of the Darken modes. In Lighten, if the pixels on the Blend layer are lighter than those on the base layer, they are kept in the image.
In Screen blend mode the density of the image is effectively halved making the overall look much lighter. The exception is the blacks. Color Dodge lightens the most saturated mid tones regions but leaves the shadows alone. Linear Dodge further increase the brightness but with less effect on color saturation. Lighter Color is similar to Lighten but with less effect on colour pixels.
Contrast Modes
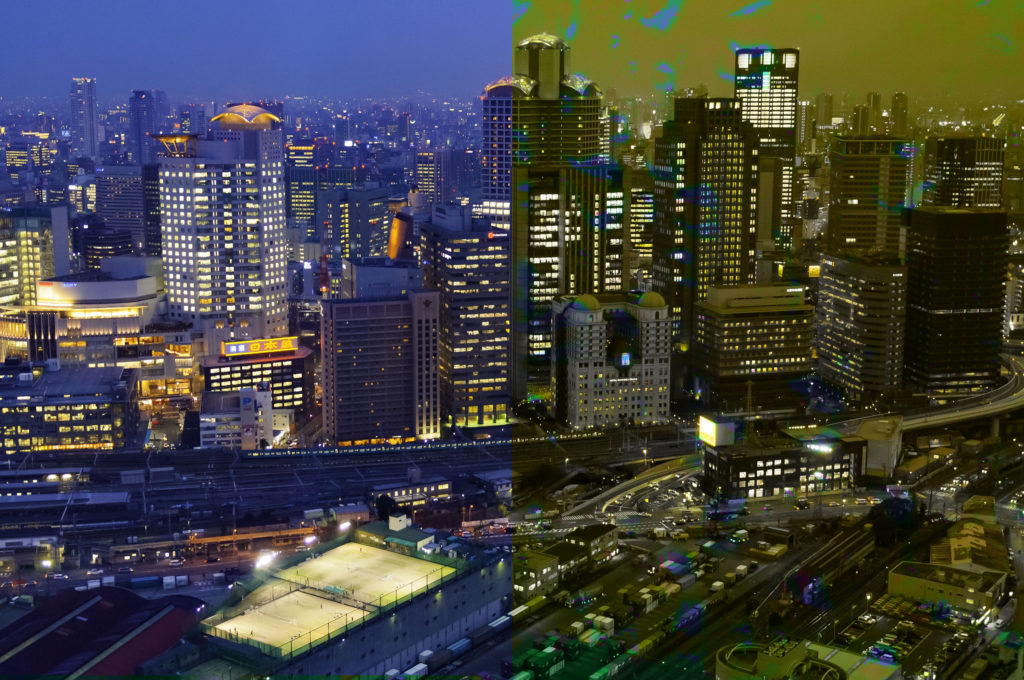
The contrast modes blend images based on 50% grey. Pixels darker than 50% grey will be darkened. Pixels lighter than 50% grey will be lightened, depending on the blend mode used. . In the Overlay blend mode darker pixels will be made darker whilst lighter pixels are screened. This boosts contrast and saturation.
Soft Light provides a similar but less pronounced effect giving a softer overall feel. Hard Light uses Linear Dodge on lighter pixels and Linear Burn on darker pixels. The overall effect is a much harsher more contrasty and saturated image.
Vivid light is similar to Hard Light instead using Colour Dodge and Burn. This creates an even more harsh looking image compared to Hard Light.
Linear Light uses a 50% strength version of Lighten and Darken blends. The effect of this is an even more hight contrast image

Pin Light uses the Darken and Lighten blend modes in a similar way to Linear. It tends to eliminate most of the images mid tone and leads to very surreal looking images. Hard mis reduces the image to primary and secondary colours with blacks and white.
Inversion Modes
The Difference mode subtracts the difference between equivalent pixels on the blend mode and the base mode. The overall effect is to give an inverted, negative feel to an image. Exclusion is similar to Difference but with a flatter less contrasty look.
Subtract has the effect of making an image virtually black with just saturated mid tone colors showing through. Divide will create an almost white image.
Component Modes
The Component blend modes work on the Hue, Saturation and Luminance of the images. In Hue blend mode the hue of the blend layer is maintained and the saturation and luminance levels are blended. Saturation maintains the saturation levels and merges hue and luminance.
In Color blend mode the color is maintained on the blend layer whist the hue and saturation of both layers are blended.
In Luminosity blend mode the blend layer maintains luminosity whilst hue and saturation are merged.
Using Blend Modes
Whilst the theoretical effect of a blend mode can be described, in reality it’s virtually impossible to know how two images are going to blend until you try them. Also you don’t have to use different images with blends modes. Using the same image with different exposure levels you can increase contrast, change color and a do a multitude of other edits, both subtle and heavy, all by working with different blend modes. You can also back of the effect of a blend mode using either the opacity or fill slider both to slightly different effect.

Blend Modes are incredibly powerful yet relatively simple to use. The more you practice with different types of images and different blends, the more comfortable you will become with their power and versatility. Let us know in the comments below, what your favourite blend mode is.


