Middle gray, also known as 18% gray, is a value used to describe the quality of perfect exposure. Why is this so?
At middle gray, colors are more vibrant. It represents the logarithmic center of the gamut of life—not the 50% middle value, per se, but rather the one that we actually perceive as the middle value. Who would have ever thought that there would be so much of a difference?
What Is Middle Gray?
If you've ever taken a photo with a DSLR or a mirrorless device, you've probably glanced down once or twice at the ruled scale at the bottom of the camera's viewfinder display.
You might already know that a photo is exposed "correctly" when this meter indicates that the exposure of the subject falls right in the middle of the range provided, -2, -1, 0, +1, and +2. Your camera has been designed to recognize middle gray as the zero on this scale, accounting for its own aperture, shutter speed, and ISO settings.
Why Is Middle Gray Important? A Brief Case Study
This should be interesting to you for many reasons as a photographer. In fact, we recommend trying out this quick experiment yourself. All that you need is:
- A DSLR
- Something black
- Something white
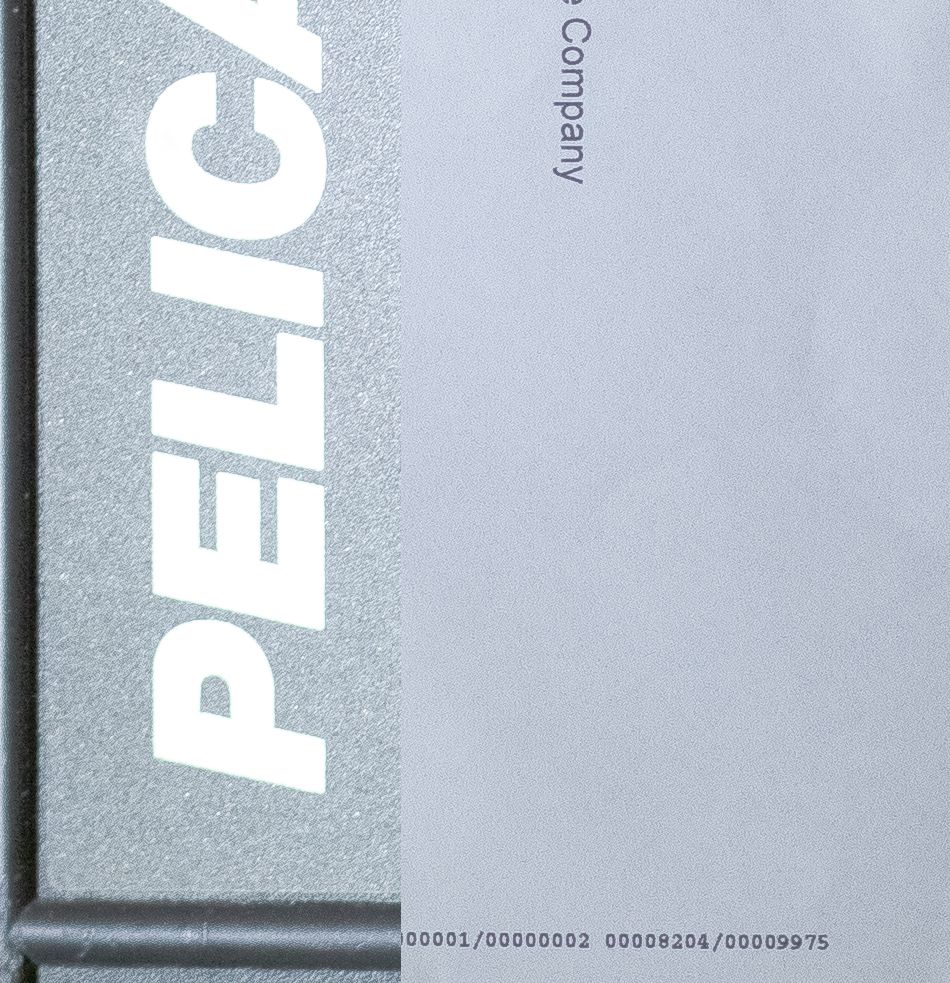
Here, you can see that we grabbed the first two things we could find—the camera's Pelican case and this cease-and-desist letter from Geico.
For this first photo, line things up so both of these objects are close enough to compare. Use your camera's internal meter to achieve a perfect reading of zero when spot metering the lighter object (in this case, the piece of paper).
Now, we move on to the darker object. Train your camera on the other object, metering and adjusting so that you end up with another perfect zero. Take the photo and head back to the lab for some forensic work.
Our two subjects here vary wildly in tone and in texture, but you can see that both have been approximated to about the same value.
This is middle gray in essence. The principle applies equally to objects of any color—IE, a well-exposed maple leaf could be called something silly like "middle green".
When finding middle gray, ignore color. Instead, keep your eyes on what really matters: the light meter in your camera and what it's trying to communicate to you.
How to Find Middle Gray
As mentioned previously, middle gray is also called 18% gray. This is a reference to the amount of incidental light that surfaces convey at 18% gray—that is, about 18% of it. It's not a value that necessarily exists in objective reality. Instead, it is the net result of several different factors. These factors include:
- Your exposure settings
- The quality of the light that you're dealing with
- The characteristics of your subject
The key here is bringing all of these competing interests into balance so that they amount to the correct reading. It truly is a matter of perception. If you've got enough light, middle gray is well within your reach.
A Well-Exposed Photo Every Single Time
There is no big-brain secret when it comes to exposing your photos perfectly. Just follow the meter, and middle gray is yours for the taking.
After shooting in this way a couple of times, your eyes will become naturally attuned to middle gray in the wild. Soon, they'll be the first to tell you when there's an Insta-worthy candid in front of you. All that you'll have to do is grab your camera or phone and take the shot.


