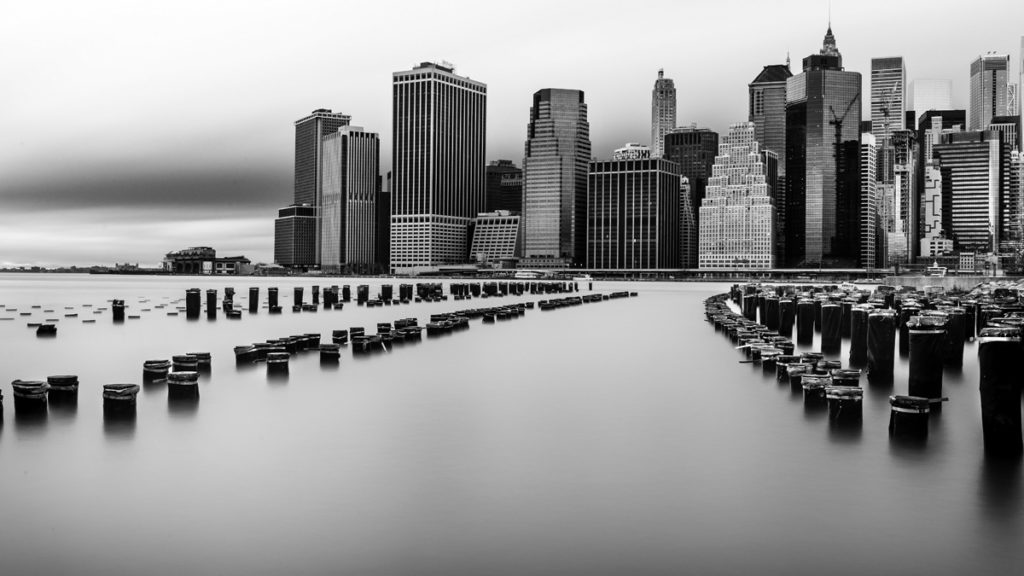
This is one of those super quick tips, and it’s how one simple accessory, and a few simple settings, allow you to create that smooth silky look in scenes where water is moving, as you see above (so a waterfall, harbor, fountain, stream., etc.), or scenes where the clouds in the sky are fast moving. Check out the accessory and technique in the short “Photo Tip Friday” video below:
That’s a pretty powerful little accessory, right? However, if you’re shooting a Mirrorless camera, the process is even easier because you can put the filter right on your lens from the start and then focus like normal. Here’s the process, step-by-step, for mirrorless camera users:
- Switch to ‘Bulb’ mode on your camera (this mode lets you can keep the shutter open for longer than 30-seconds).
- If you’re doing a long exposure, your camera can’t move at all, not even a little, the entire time, so use a tripod.
- Put your ND filter in front of your lens. If you’re going to be shooting in daylight (like I was for the shot above), you’ll need at least a 10x (10-stop) ND filter or a 12 or 15-stop. I have a 10-stop and a 3-stop, so I can put on the 10-stop and then screw the 3-stop right on top for a 13-stop equivalent.
- Figure out how long to keep the shutter open. There are apps for your phone that do this. I use either ND Timer (¢.99) or the use ND timer included in the PhotoPills App(I know a lot of you already use that app).
- Press the shutter button halfway down to focus, and then all the way to open the shutter (or if you’re using a cable release or wireless remote, press it and lock it into position, so you don’t have to hold it down the whole time physically). On my Canon R6, I set a two-second timer and then tap and screen, and it starts a timer right there on my screen for me. When it hits the amount of time my app told me it would need for a proper exposure, I simply tap the screen again.
There ya go for all your mirrorless users out there (you save a few extra steps that folks that are shoot DSLRs still have to do, like covering the viewfinder so light doesn’t leak in, and pre-focusing and switching to manual focus before putting the filter on your lens).
Give this technique a try – it’s also great for removing tourists (as long as the tourists keep moving while you have a long exposure going, they will literally be gone when the long exposure is gone. We’re talking during a 30-second+ exposure).
Have a great weekend, everybody! Happy shopping to everybody getting those early bird Black Friday details.
-Scott
P.S. Our Black Friday/Cyber Monday deals for a KelbyOne Pro membership are already in place if you want to take advantage of our absolute lowest prices of the year. Here’s the link – you will get so much out of it, and it also makes a fantastic gift for the photographer on your holiday list. :)