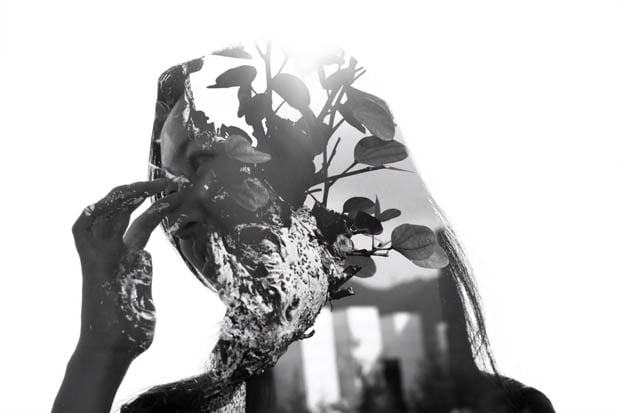
How to Shoot ‘Water Hat’ Portraits On the Cheap
The temperatures have been soaring lately. Depending on where you live, you might’ve even seen record heat over the last couple of weeks. Normally, such weather makes staying indoors (so long as you have air conditioning) sound ideal. However, in this article, we’re going to share a fun, creative photography idea (inspired by Tim Tadder) that’s perfect for getting outside on hot, sunny days.
Also, this tutorial uses techniques taught in SLR Lounge‘s latest course Creative Photography 101.
Step 1: Find Hot, Midday Sun
Let’s avoid freezing our children in winter as we pop water balloons over their heads. I know that we normally try to avoid midday photo shoots, but this technique works best with midday sun (generally around 11am or 1pm) with just a slight trace of directional light.
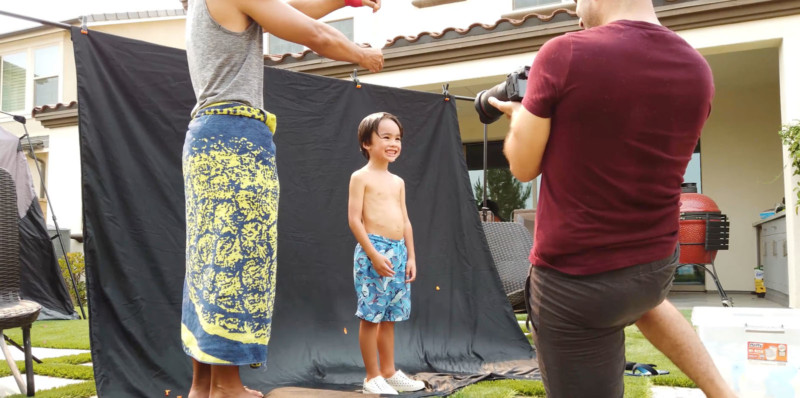
Step 2: Set Up Your Backdrop
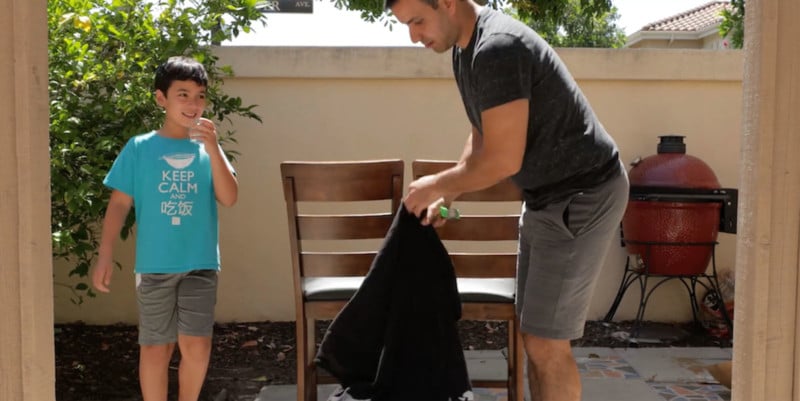
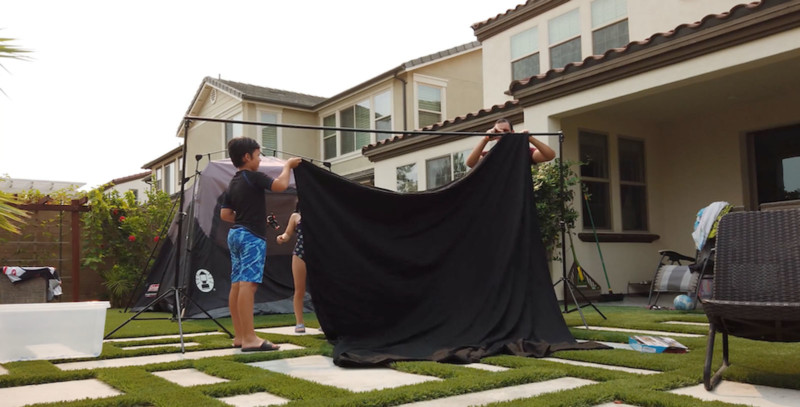
If you have a black cloth background, great! Use that. If you do not, a simple bed sheet will work (preferably a darker color, such as black). Likewise, if you don’t have a regular backdrop stand (pictured above), you can also line up a couple of chairs and drape the sheet over them, using the backside of the covered chair as a backdrop. If you plan on shooting more photos against a backdrop, however, I recommend picking up a backdrop stand. They’re affordable and come in handy.
Step 3: Verify the Angle of Light
Make sure that your subject’s back is to the sun. In other words, you will shoot towards the sun. We chose to use midday sun because the high angle of the sun allows your subject to be backlit while keeping the backdrop in the shade. If you were to use this creative photography idea at a different time of day, the angle of the sun would cast longer shadows and it would become more difficult to separate your subject from the background.
Step 4: Dial In Your Camera Settings
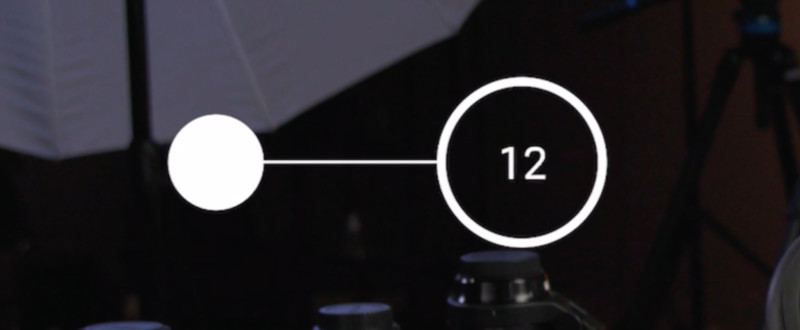
Select the Highest Frame Rate Option
For this shoot, I used the Canon EOS R, which offers somewhere in the neighborhood of 8 frames per second when shooting stills. Some cameras offer super-fast frame rates (20 frames per second or faster), and the faster, the better, but you can really use whatever camera you have available to pull this off; it might just take a couple more tries to get the perfect frame.
Choose a Fast Shutter Speed
In order to freeze the action, we need to choose a fast shutter speed. 1/4000 of a second is good, and 1/8000 of a second is better.
Stop Down the Aperture
By stopping down the aperture to f/5.6 as opposed to opening it up to f/2, you’ll get more depth and keep more of your subject and the water droplets in focus. If it’s especially bright outside, you can stop down to f/7.1 to capture even more detail.
Adjust the ISO to Get the Proper Exposure
Finally, adjust your ISO to balance out your exposure. Make sure, based on the camera that you’re using, that the ISO setting will not reduce the image quality too much. For example, even though we’re shooting in the midday sun, I bumped the ISO to 1600, but that fits within the acceptable range of ISO for the OES-R and doesn’t compromise the image quality. The settings will vary, of course, based on how bright it is. The first time I tried this technique, it was under the midday sun and I was able to shoot with ISO 400. The second time, the sky was a little overcast, and I had to bump the ISO a bit more to ISO 1600.
How to Adjust Your Settings with an iPhone
If you’re using a smartphone for this shoot, you can dial in your settings by sliding your shutter button to the left to go into burst mode. The phone will then automatically adjust the other settings. You may notice the quality drop off a little as you relinquish control to the camera’s auto settings, especially if you’re trying this with both a phone and a regular DSLR or mirrorless camera, but the phone camera still gets the job done and is fun to use as well.
Step 5: Pop the Balloons!

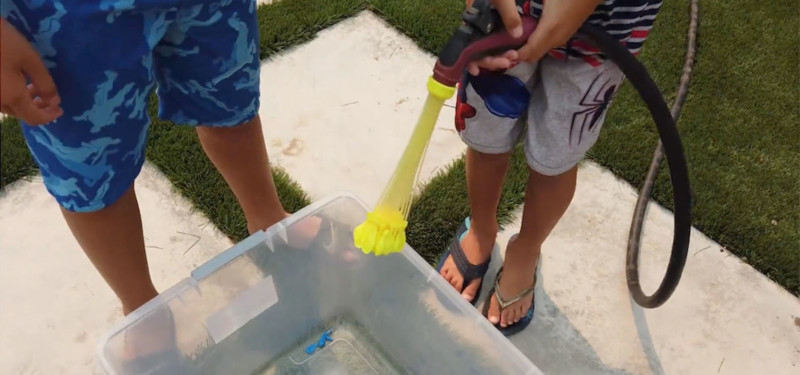
It’s time to have fun and pop the balloons! I purchased a pack of “Buncho O Balloons” from Amazon. They’re quick and easy to fill, which is perfect when you need to fill up, well, a bunch of balloons. All you need to do is put a pack of balloons over the hose and you can fill up several balloons at once. Of course, you can use other brands, but these worked well for us.
Once the balloons are filled, get your subject into position. Whoever is tasked with popping the balloons should hold the balloon directly over the subjects head (just out of frame) and have a pin or needle ready to pop the balloon on your command. At this point, you should’ve already locked your focus and dialed in your settings.
We found that if we counted down, “3…2…1,” the subjects would anticipate the pop, close their eyes, and squint through the action. The goal is to capture a typical pose and expression with a funny water hat, so we switched up our approach and I told the balloon popper to wait for my shutter to start clicking and then just pop the balloon. Once you DO hit the shutter, just hold it down and rapid fire through the whole sequence.
After you capture a sequence of images, look through them to make sure you captured the perfect expression and water hat. If not, run through the cycle again as soon as your subject is ready. Or, if you have a good expression in one image and a perfect water hat in another, you can create a composite image and quickly swap the expressions.
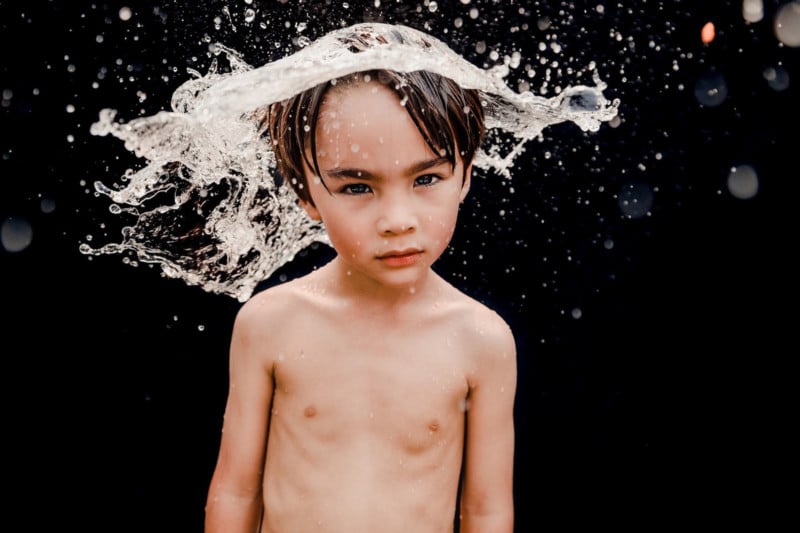
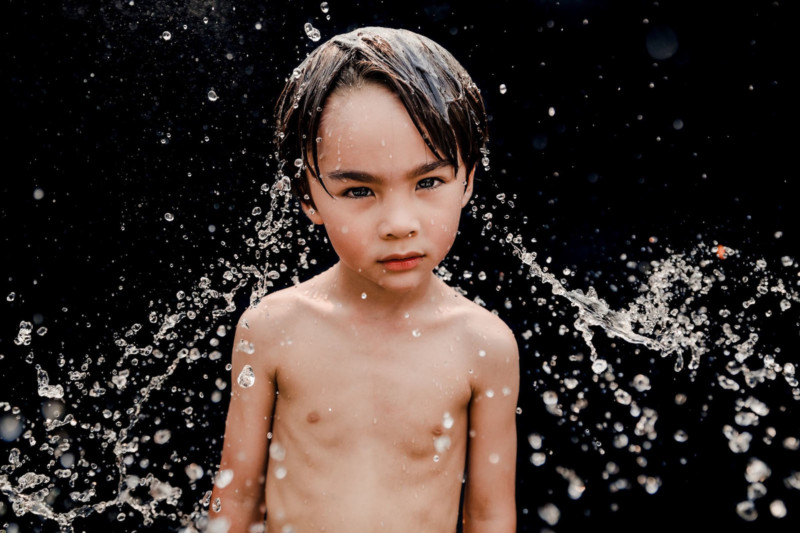
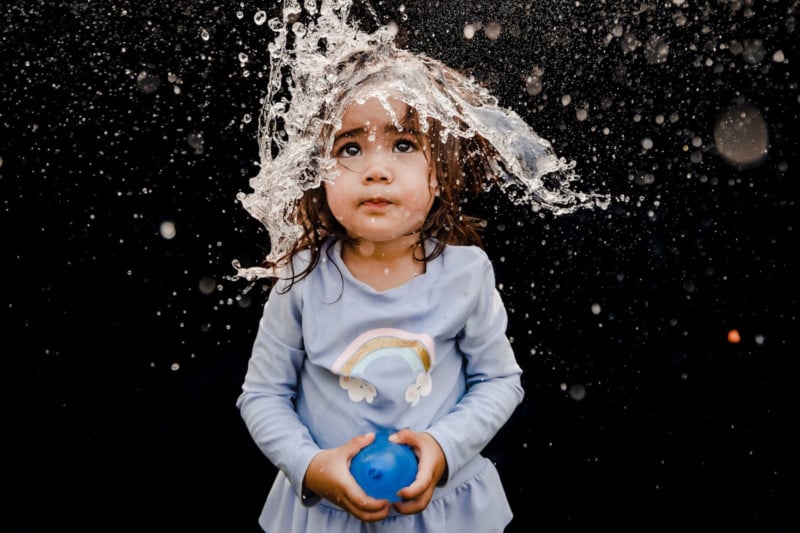
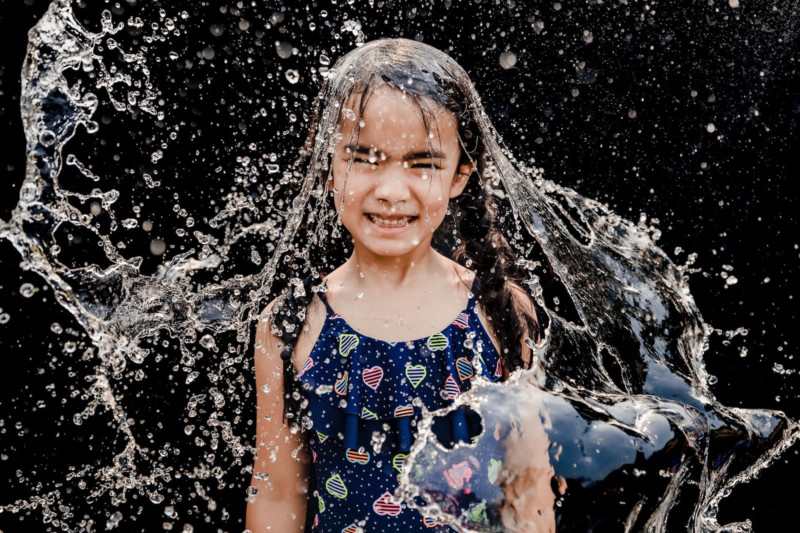
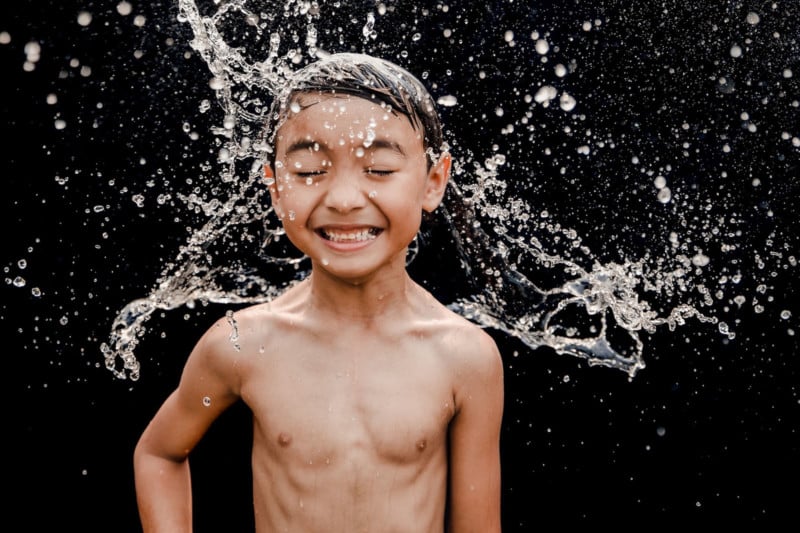
Gallery
Here’s a gallery of images we captured using the technique outlined above. The camera settings were as follows: 15-35mm @ 35mm, 1/4000, f/4.0, ISO 1600.

Conclusion
We hope you enjoyed this creative photography idea for photographing water hats on the cheap! For more creative photography ideas, check out SLR Lounge‘s newest workshop, Creative Photography 101! Every image in the workshop is taken using a phone to show that photography is not about the camera, but rather the person behind it.
P.S. This video is part of the Mastering Your Craft series on Adorama’s YouTube channel.
About the author: Pye Jirsa is a wedding photographer based in Southern California and the co-founder of SLR Lounge. The opinions expressed in this article are solely those of the author. You can find more of Jirsa’s work here. This article was also published here.