It is one of the oldest debates in digital photography and you will find adherents on both sides. With modern camera technology so good, do you still need to shoot the ‘unprocessed’ raw file as the camera sees it, which is often compared to a digital negative, or can you now get away with a click-and-go JPEG? We look at the issue in more depth and find some enlightening case studies.
1) Which one to choose?
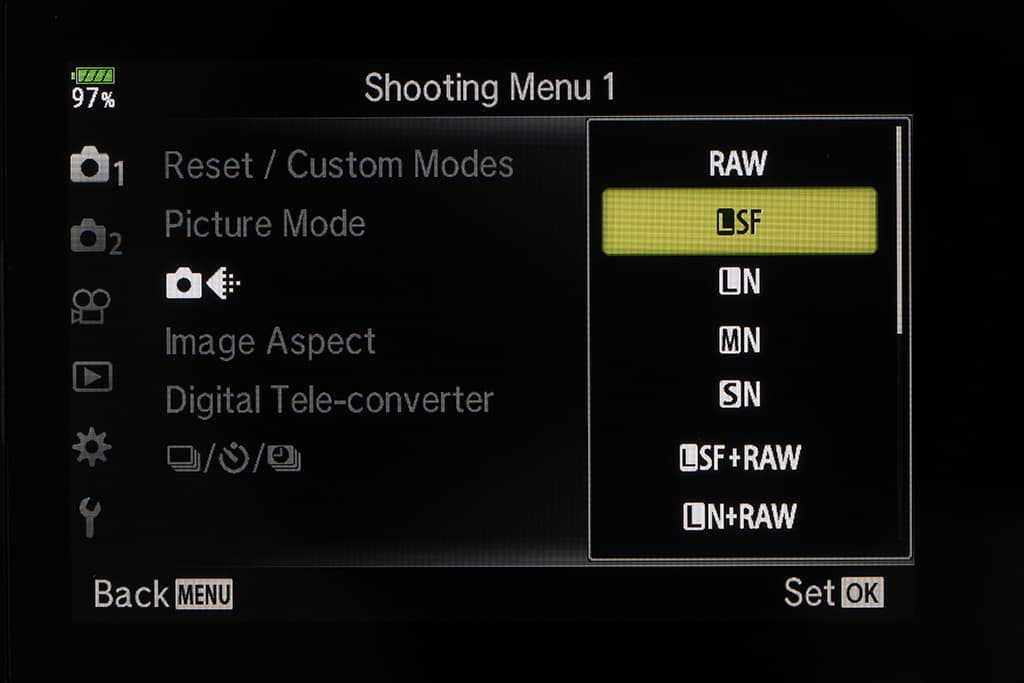
When you’re setting up your camera for the first time, one of the decisions that you have to make is what file format you want to shoot in. This usually comes down to a choice of two formats, JPEG and raw, with the option to shoot both simultaneously.
If you’re new to photography and the concept of editing images, JPEGs make a good choice because they are universally recognised and can be opened and viewed by any image-viewing or editing software. You can upload them to Facebook or email them to a friend and they are visible.
Raw files, on the other hand, can only be opened and viewed in specialist software. Thankfully, this is provided by the camera manufacturer and there are alternatives from third-party software companies like Adobe, Phase One and DxO. Before you can share a raw file, it needs to be processed and converted into a more accessible file format (usually a JPEG). If you decide to only shoot JPEG images, make sure that you select the largest size
and highest quality via the camera menu.
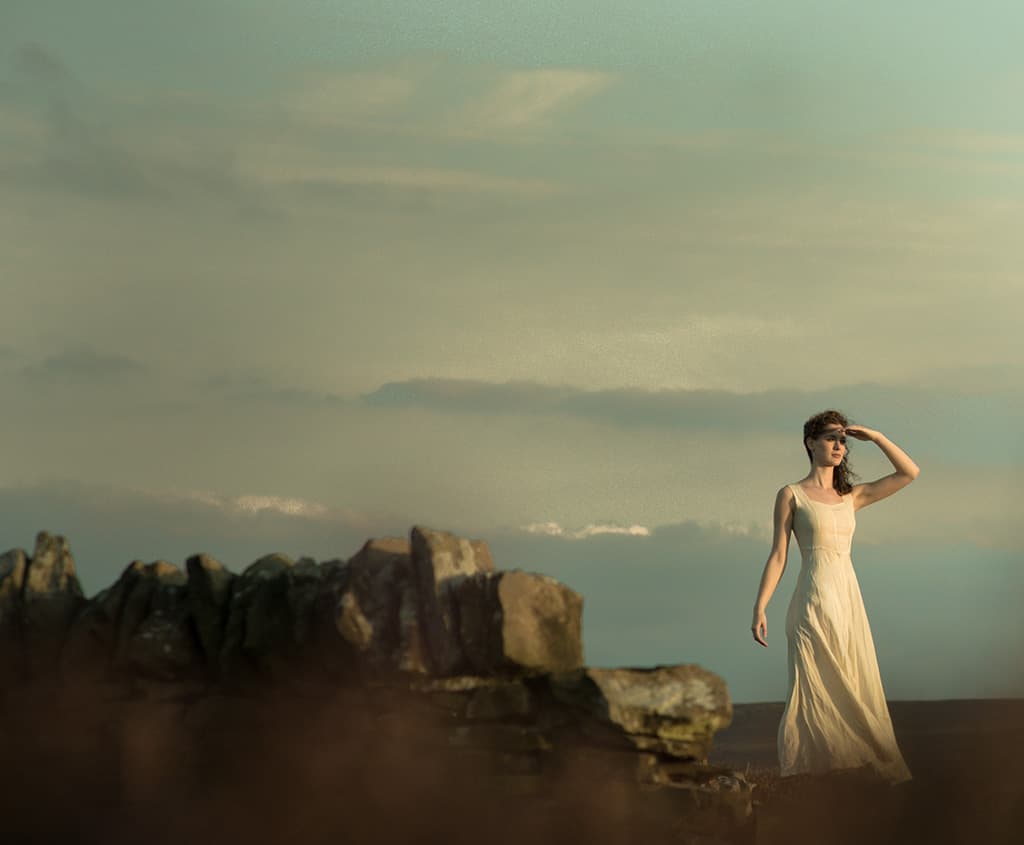
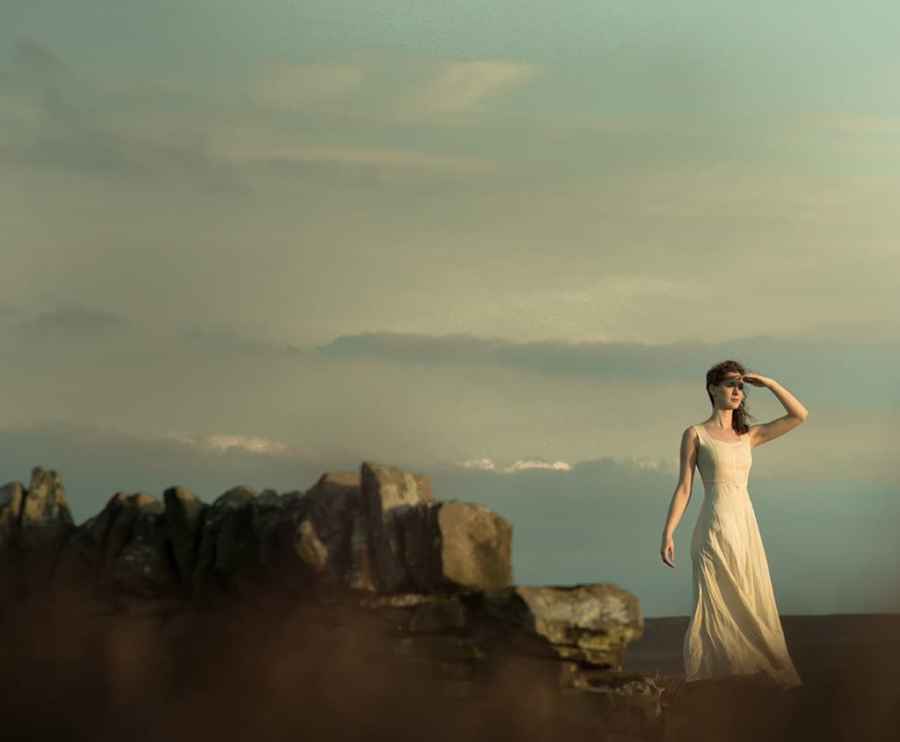
Carolyn Mendelsohn chooses to shoot in raw to capture the maximum amount of data possible Nikon D800, 85mm, 1/2000sec at f/4, ISO 400. Credit: Carolyn Mendelsohn
2) What is a JPEG?
JPEG stands for Joint Photographic Experts Group, which is the name of the committee that defined the format’s standard, and a JPEG file has the file extension .JPG at the end of its name. The format uses a lossy form of compression, which means that data is lost from the image when it is saved, helping to keep its size down.
3) What is a raw file?
Raw files are often referred to as digital negatives because they contain the maximum amount of data that can be gathered by the camera. Also, setting selections such as the white balance and filter effects aren’t ‘baked in’ like they are with a JPEG, which means you have more scope to change how the image looks.
Raw files are accompanied by a JPEG that has the camera settings applied, so when you scroll through your images on the computer, or open the raw files in the manufacturer’s software, you see the image. However, these settings may be stripped out by third-party software, so you see a less-processed image when you open the file for editing. If you shoot in monochrome mode, for example, you may see a colour image when you open the raw file in Adobe Camera Raw, the raw-file conversion software that comes with Photoshop, or DxO PhotoLab 4.
4) Software updates
Even though a raw file name extension (ARW, CR3, ORF, NEF and WR2 etc.) may be the same as that from another camera by the same manufacturer, the format is bespoke to the camera model. When a new camera is introduced, raw-editing software needs to be updated before it can read the files. Camera manufacturers issue updated software when the camera goes to market and most third-party raw editing software developers are pretty quick to roll out updates these days.
5) Which is better for colour
JPEG images are 8-bit files which means they can contain up to 256 tonal values for the red, green and blue channels. That gives them a total of 16.8 million (256x256x256) possible colours. 12-bit raw files, however, can store up to 4,096 tonal values per colour channel, giving a total of 68.7 billion colours.
Some cameras enable you to shoot 14-bit raw files which pushes the number of colours to an incredible 4.4 trillion (16,384 per channel). A top-quality computer monitor can display up to 1billion colours, so it can’t display the full range of colours from a 12-bit raw file, but it’s more than enough for a JPEG.
The advantage of raw comes when you need to edit the colours: more data is available so you can make greater adjustments without introducing banding, posterisation or colour shifts. This is particularly useful when you’re working with extremes of colour and exposure, for example when you’re editing highlight areas on a portrait or the brightest areas of a blue sky. That extra information means you are more likely to be able to retain subtle transitions and natural colours with a raw file.
You can apply and edit filters and effects in your software too
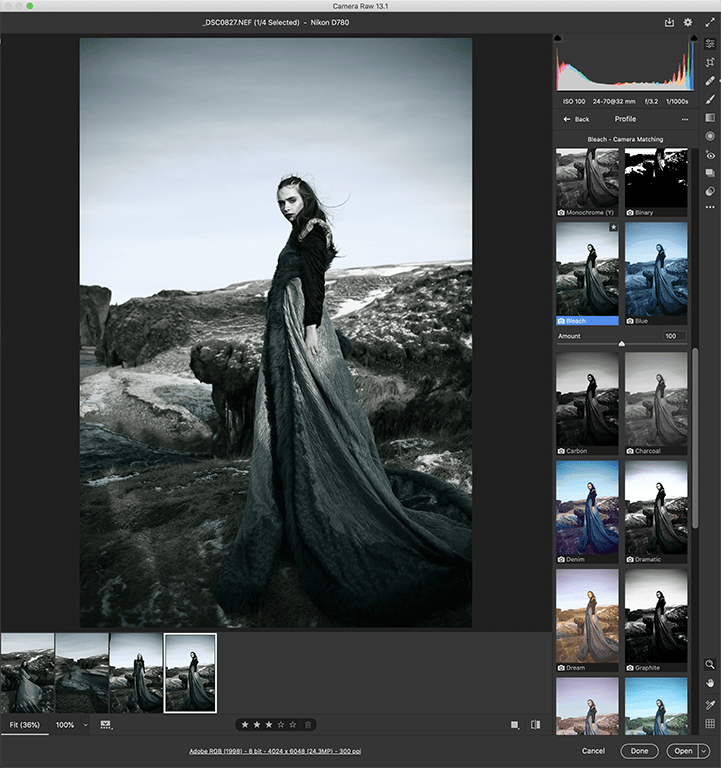
6) Getting the look
One of the great things about JPEG files is that they can be share-ready. You can use the in-camera Picture Styles, Picture Controls, Film Simulation modes or Art Filters and effects to capture an image that looks good enough to share straight away. I’m a fan of Fujifilm’s Classic Chrome and Acros Film Simulation modes for example, while Nikon’s Bleached Picture Control produces some great results and Olympus’s Grainy Black and White Art Filter is nice for moody portraits and street scenes. As I mentioned earlier, if you shoot raw files the effects that are applied in-camera may be stripped out when you open the file in third-party raw processing software.
However, it may be possible to retain, edit or apply these effects in the software supplied by the camera manufacturer or in Lightroom or Adobe Camera Raw as some in-camera treatments are stored as profiles. With images from Nikon cameras, for example, you’ll find all the Picture Control options are available to apply as a one-click edit, but you can also adjust the degree of the applied effect and tweak all the usual parameters. It’s a slower process but you may get better results than the JPEG straight from camera.
7) Dynamic range
As well as having a wider range of colours, the extra bit-depth of raw files mean they have more dynamic range. That means that they can have a greater range of tones. In some instances you may not be able to distinguish a raw file from a JPEG, especially if you’re only sharing small images or making small prints, but on other occasions you may notice that raw files have smoother tonal gradations at the extreme ends of the exposure range and that there’s more detail in the brighter and darkest parts of the image.
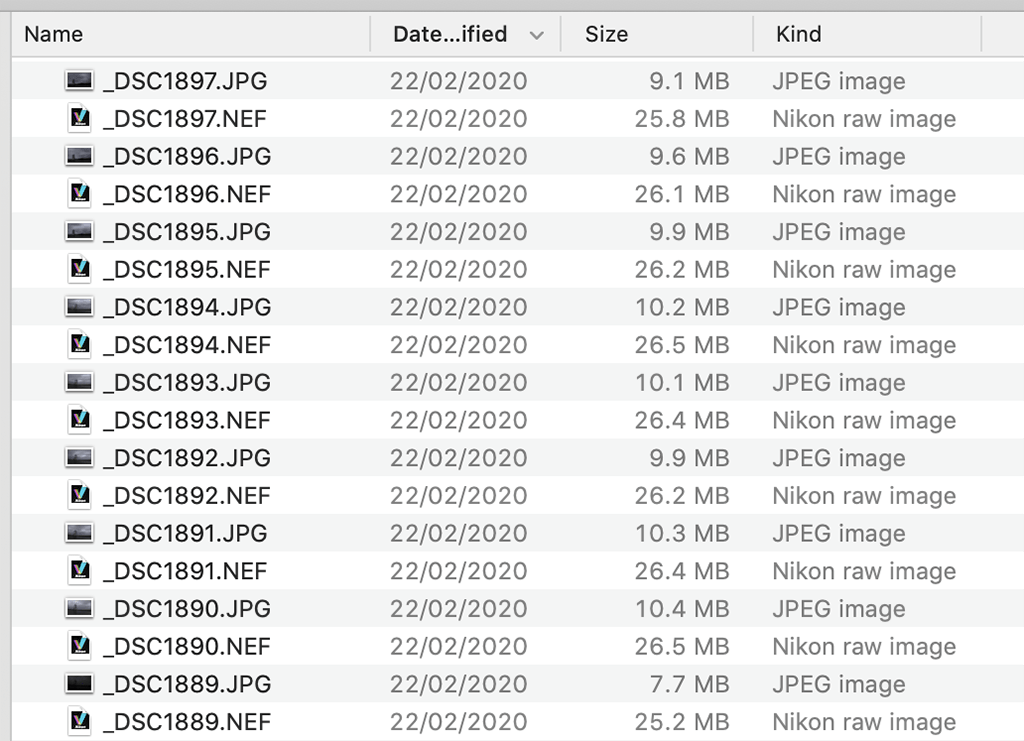
8) File size and storage
Take a look at a folder full of raw and JPEG files and another advantage of JPEGs becomes immediately apparent – they take up much less room on a memory card or storage drive. For example, the folder shown here contains images from the 24.5MP Nikon D780 and the 14-bit lossless-compressed raw files take up around 2.7x the storage space of the Large Fine-quality JPEGs. When the JPEGs are opened for editing, they expand and a 9.1MB file, for example, becomes a 69.6MB file – however, it compresses down again on closing.
While the JPEGs take up much less space than the raw files, at around 10MB each, it only takes around 100 JPEGs to occupy 1GB of storage, so if you’re shooting raw and JPEG files simultaneously, but only using the raw images longer-term, you might want to consider getting rid of the original JPEGs. Also, if you use the JPEGs for sharing quickly on social media, you could consider switching from shooting the largest to the smallest-sized files. On the D780 this reduces the Fine-quality JPEGs to around 4.1MB while the Small Basic-quality files occupy just 1.2MB of storage capacity.
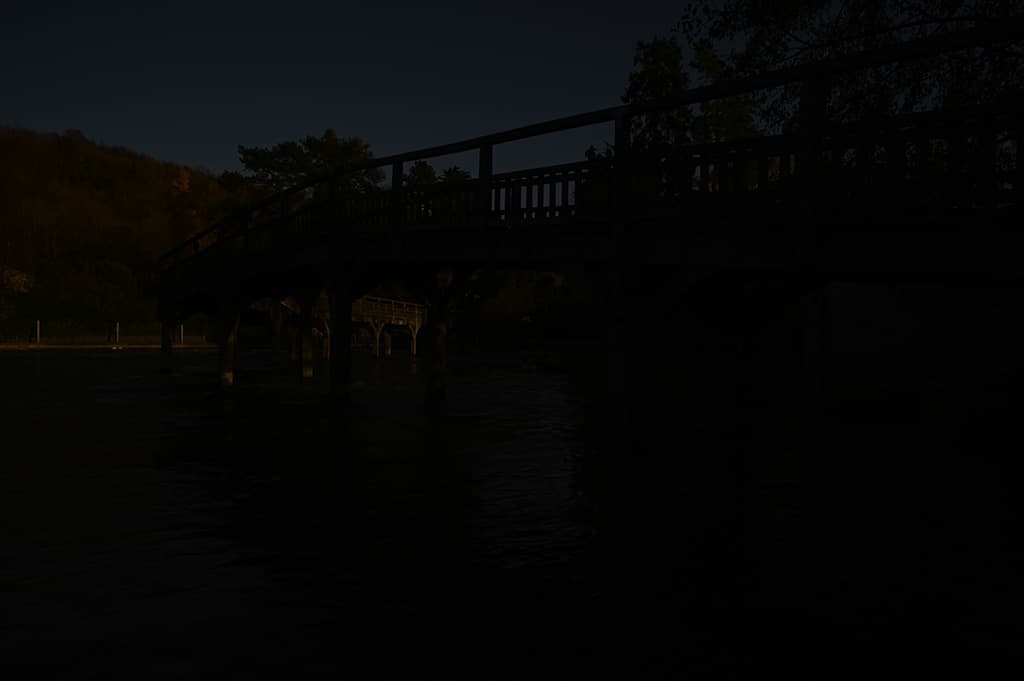
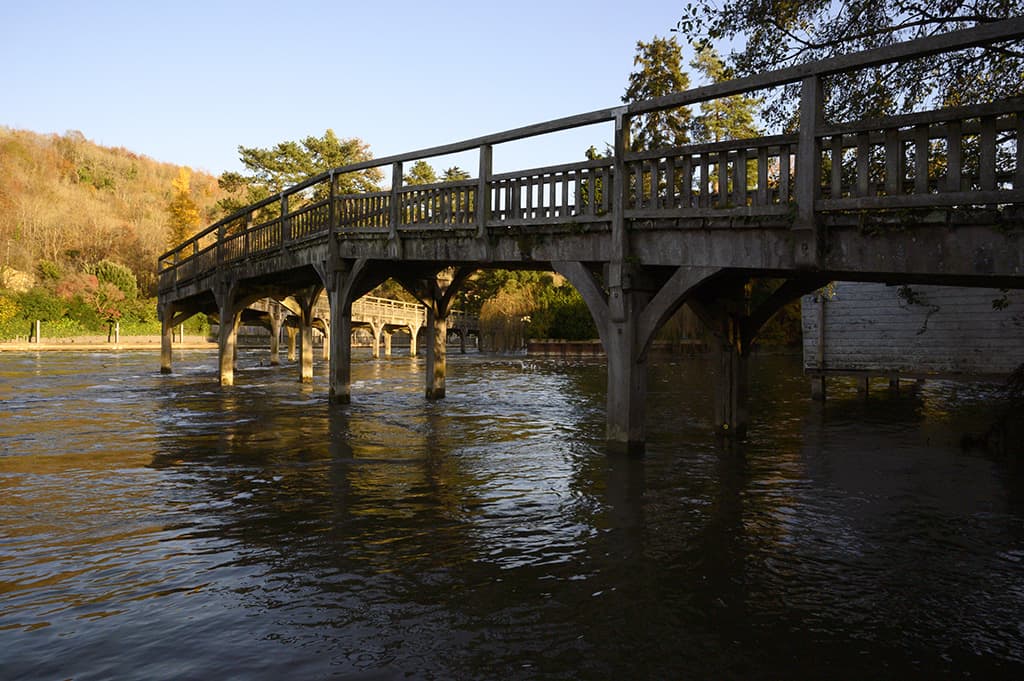
9) Recovering highlights
A benefit of raw files having a greater dynamic range is that they have a greater latitude for recovering the brighter areas of an image. If the highlights are burned out, they cannot be pulled back, but there’s likely to be a smoother gradation towards the burned-out area than in a simultaneously captured JPEG image.
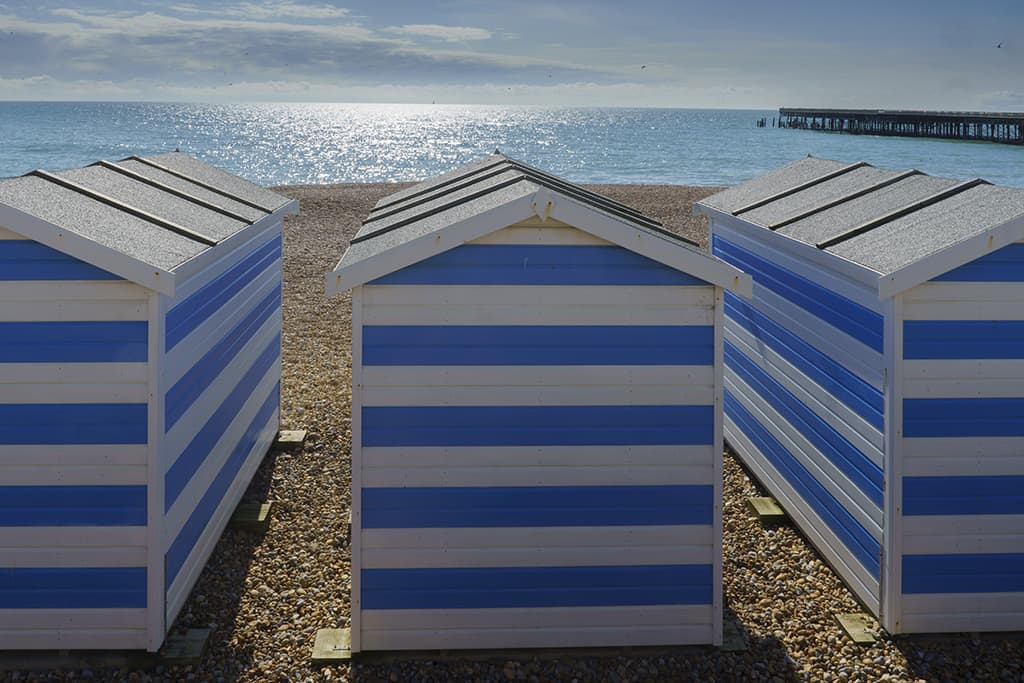
Raw
In the brighter parts of this scene, which was simultaneously captured in raw and JPEG format, for example, the specular highlights look more natural in the raw files than they do in the JPEG. Even after some careful adjustment, they quickly become a large burned-out area in the JPEG whereas in the raw they look like sparkly highlights.
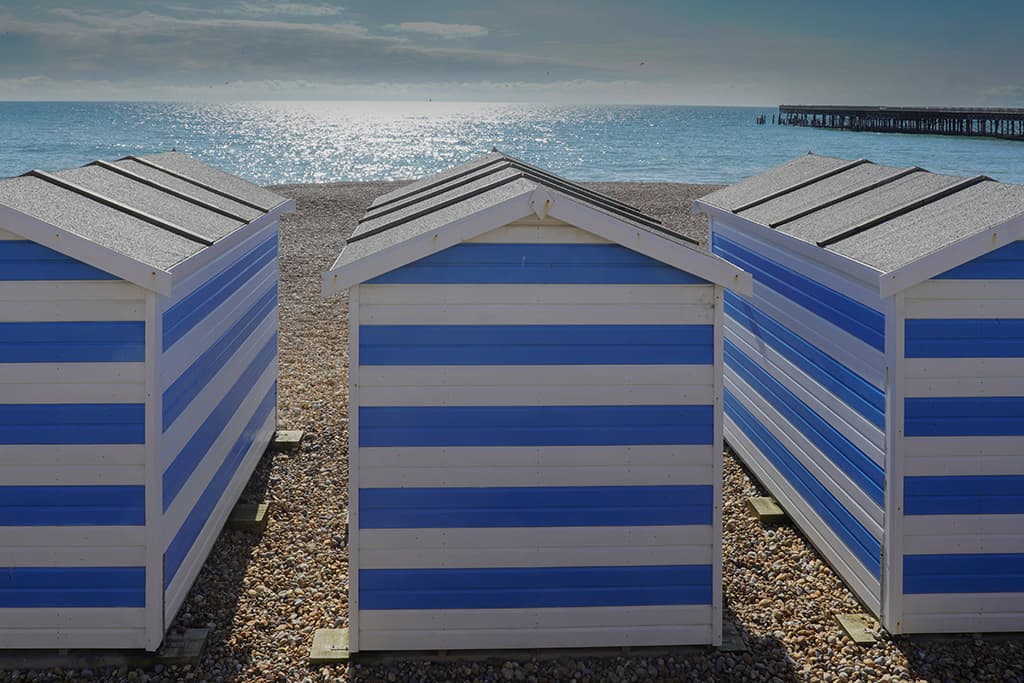
JPEG
10) Boosting shadows
Just like the highlights, the shadows in an image have less information in a JPEG than in a raw file. That means that you may not be able to brighten them as much as you can with a raw file. This heightened potential for highlight recover and shadow-boosting is especially helpful in landscape photography when you may want to under-expose a little, to capture every scrap of detail in the brightest areas of the clouds.
Original
Whichever file type you work on, zoom in to 100% and watch out for noise and /or false colours appearing in the shadows. The raw and JPEG images shown here were deliberately underexposed to make them almost completely black, and the files were brightened in Adobe Camera Raw to bring out the details.
Raw
The raw file has coped much better than the JPEG with the exposure change, the colours look more natural, the details are clearer across the whole image and there’s less luminance noise.

JPEG
11) Best for burst depth
If you’re shooting sport or fast action and using a high continuous shooting rate, you’ll find that you’re able to shoot more images in one hit if you set your camera to JPEG-only. If you’re shooting at 20fps with the Canon EOS R6, for example, you can get 120 raw files in a single 6-second blast but if you switch to JPEG-only you can shoot over 1,000 images. That could be useful when the action is unpredictable.
12) Noise control
Most cameras allow you to set the level of noise reduction that’s applied to JPEGs and it’s well worth experimenting with the settings to see which you prefer. On the whole it’s best to be cautious and not ramp up noise reduction to its top setting because it can result in some loss of detail and smudging of finer details.
You may also want to vary the strength of the noise reduction depending upon the subject and the ISO setting. While using in-camera noise reduction keeps things simple, the best-quality results are produced when you tackle noise at the post-capture processing stage. Some software packages enable you to reduce the amount of visible noise in JPEGs, but the highest-quality results come from raw files that have received bespoke treatment with a careful eye on the details.
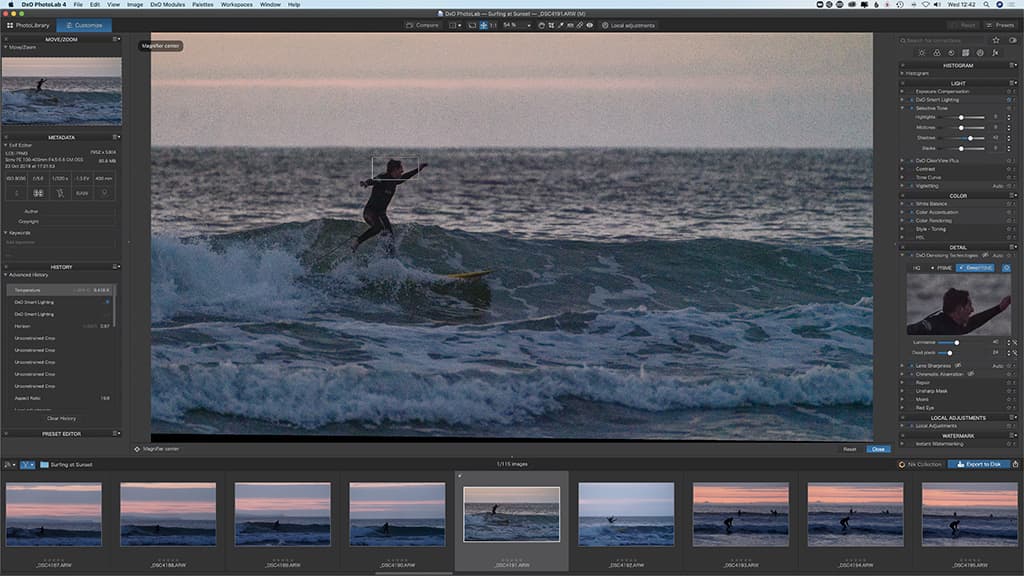
If you read our round-up of noise-reduction software, you’ll know that DxO PhotoLab 4.0 is my pick of the options out there (it’s also a great image editor), but it only works on raw files. Topaz Labs DeNoise AI also works well and it can work with JPEGs, but the results are still better with raw files.
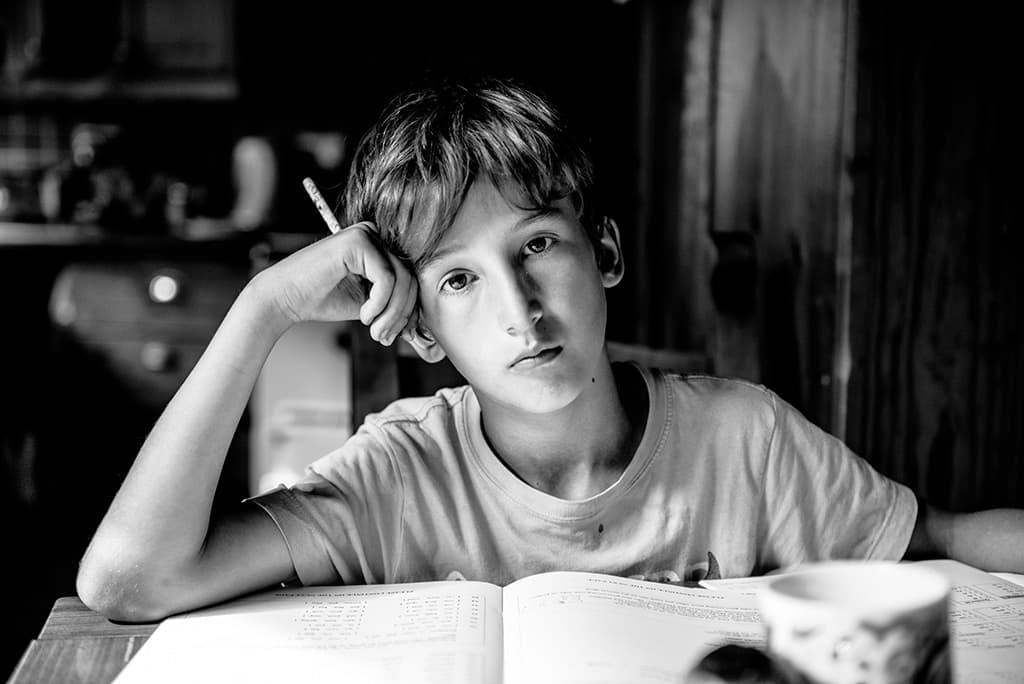
Picture credit: Carolyn Mendelsohn
‘Raw only’ case study: Caroline Mendelsohn
Carolyn Mendelsohn is a photographer and filmmaker. Her passion is photographic and film work on a large scale, based on the lives of individuals and their stories.
She says, ‘Whether on location or in a studio, I love having complete control of the creative process and I am happiest when I am shooting raw files in manual exposure mode. I aim to get everything right in camera, however occasionally if I am working in challenging lighting conditions – changeable weather on location or dealing inside with different lighting sources – then I need to tweak the file post-capture. I choose to shoot in raw format because it is a brilliant starting point; all the information is contained within the file, and no processing has been applied (unlike JPEGs).
The file is of the highest quality, so should there ever be any issues, for example, any areas where the highlights are almost blown, or the shadows are too dark (underexposed,) then it is easy to correct them when processing the file and there is more latitude. I tend to process the file lightly in Adobe Lightroom, tweaking the curves, and contrast. I can bring what is essentially a flat file full of information to life and give the image a signature look.’
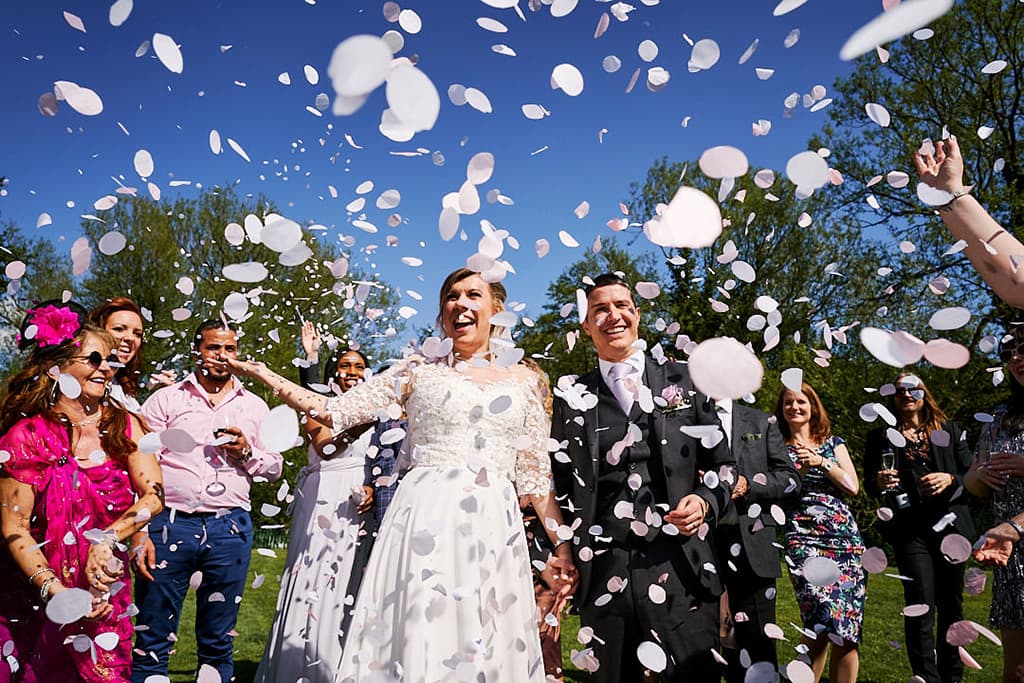
Picture credit: Robert Pugh
‘JPEG only’ case study: Robert Pugh
Robert Pugh is a wedding and portrait photographer, and although he shoots raw files at the same time as JPEGs, the raw files are only a back-up and he doesn’t touch them unless something has gone wrong with a JPEG – usually a sudden change in the light causing a change in the white balance.
He explains, ‘I like to get as much as I possibly can right in-camera because it saves me spending time at my computer processing raw files. I still shoot raw files just in case, but I’ve set my camera so that raw files go to one card and JPEGs to the other. I only import the JPEGs to my computer and if I need a raw file, I only download the one I require from the SD card.
Once everything is finished and I’ve delivered all the images and the album to client, I format the cards for a new day. I shoot around 32 weddings a year and I only tend to download and process around 12 to 16 raw images in total. I prefer to use JPEGs because they are faster to load and render and they take up much less storage capacity.’
More reading
What is the best noise-reduction software
Why bother shooting raw?